How to customize user account & settings page ?
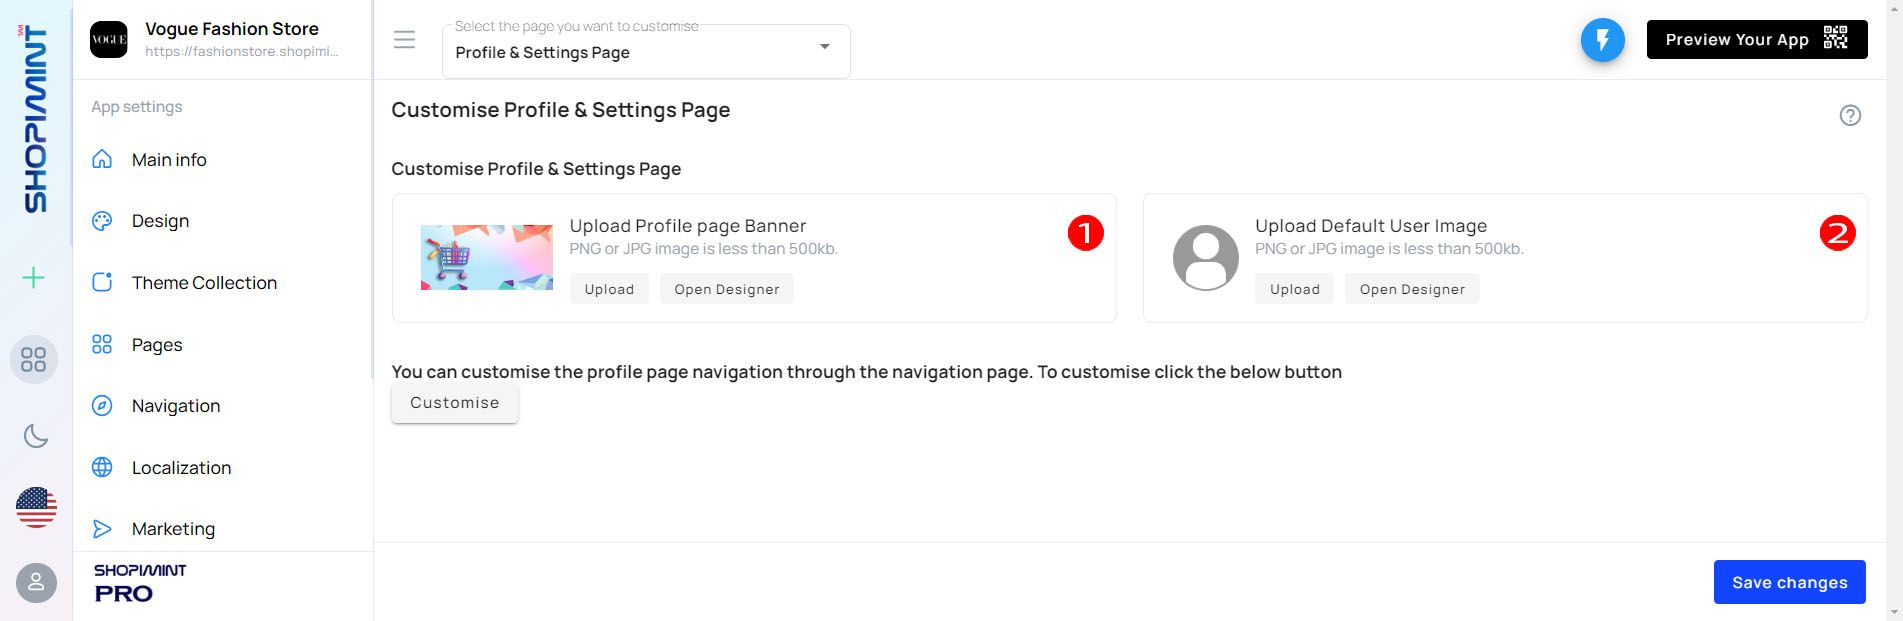
Customize Profile & Settings Page
01. Profile Page Banner
You can change Profile Page Banner from Pages ➝ Profile & Settings Page➝ Upload Profile Page Banner
You can upload an image that matches the given requirements as a banner by clicking the upload button. The banner image should be a PNG or JPG image less than 500kb. You can also change the changes of the uploaded banner by clicking the Open Designer button.
02. Default User Image
You can change Default User Image from Pages ➝ Profile & Settings Page➝ Upload Default User Image
You can upload an image that matches the given requirements as a banner by clicking the upload button. The banner image should be a PNG or JPG image less than 500kb. You can also change the changes of the uploaded banner by clicking the Open Designer button.
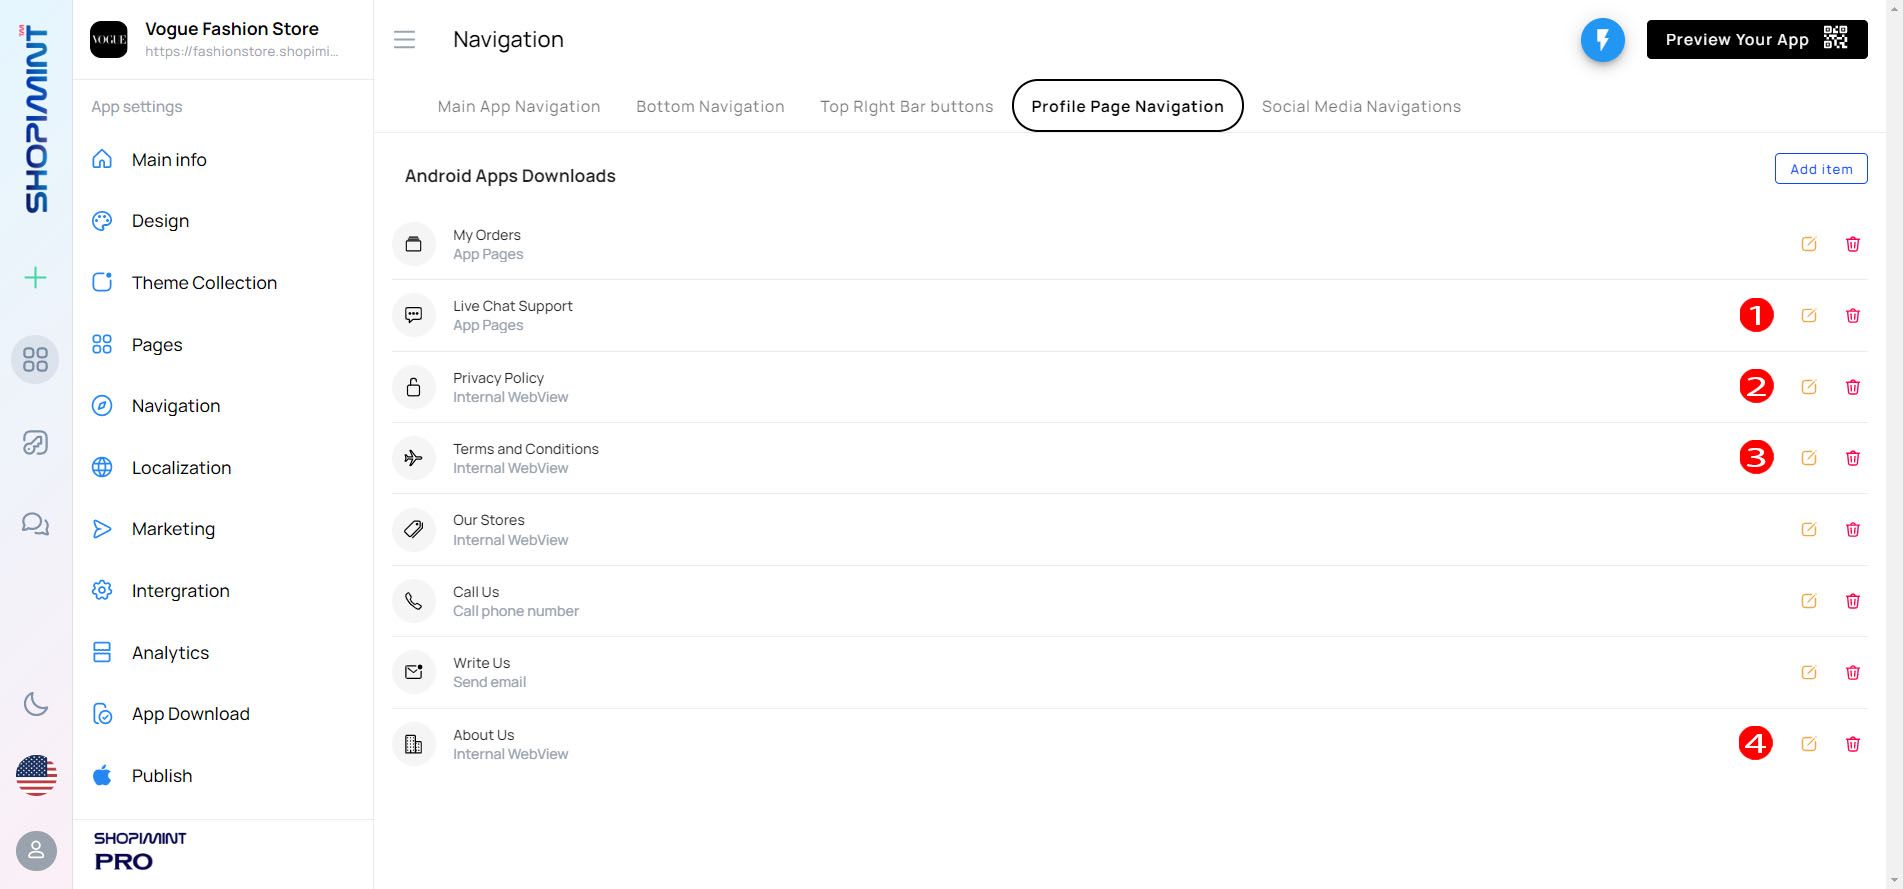
Update Profile Page Navigation (Menu)
You can customize the Profile Page Navigation through the Navigation Page. To customize the Profile Page Navigation click the "Customize" button in Profile & Settings Page.
Let's see how to do it using some examples.
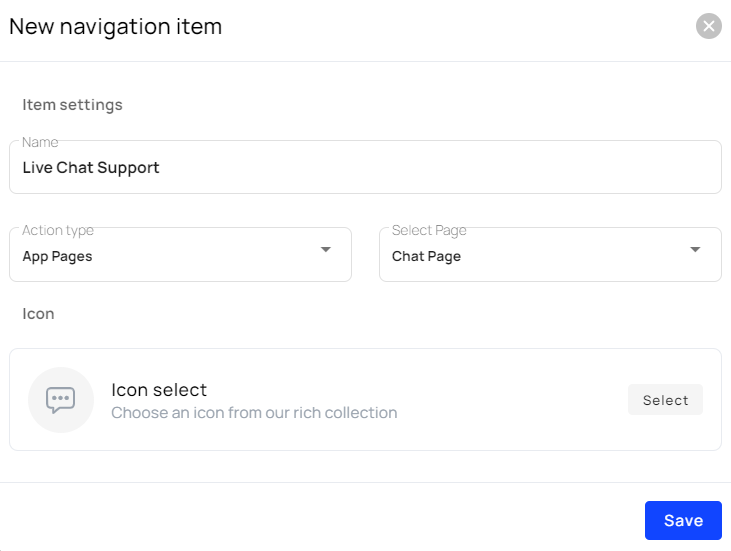
01. Add Live Chat
You can add a Live Chat feature to your app through the Navigation Page. To do that follow these steps.
Navigate to Pages ➝ Select the page you want to customize (Drop-down list) ➝ Profile & Settings Page ➝ Customize Button ➝ Profile Page Navigation ➝ Add Item ➝ New Navigation Item
| Option | Description |
|---|---|
| Name | You can add a desired name to the Live Chat in the "Name" text field for the app display. |
| Action Type | Select "App Pages" for the action type. |
| Select Page | Select "Chat Page" for the page type. |
| Icon | Select an icon for the application display. |
There is a special process to enable the live chat feature. How to do it is very clearly stated in another article. So please refer to this article and enable live chat for your app.
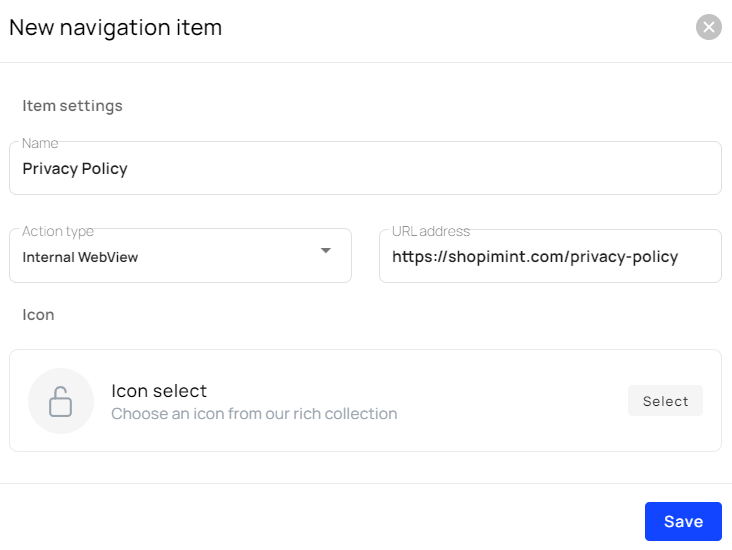
02. Add Privacy Policy Page
You can add a Privacy Policy Page through the Navigation Page. To do that follow these steps.
Navigate to Pages ➝ Select the page you want to customize (Drop-down list) ➝ Profile & Settings Page ➝ Customize Button ➝ Profile Page Navigation ➝ Add Item ➝ New Navigation Item
| Option | Description |
|---|---|
| Name | You can add a desired name to the Privacy Policy page in the "Name" text field for the app display. |
| Action Type | Select "Internal Web View" for the action type as these types of pages act as web views. |
| URL Address | Paste your "Privacy Policy" page link in this area. |
| Icon | Select an icon for the application display. |
03. Add Terms & Conditions Page
You can add the Terms & Conditions Page through the Navigation Page. To do that follow these steps.
Navigate to Pages ➝ Select the page you want to customize (Drop-down list) ➝ Profile & Settings Page ➝ Customize Button ➝ Profile Page Navigation ➝ Add Item ➝ New Navigation Item
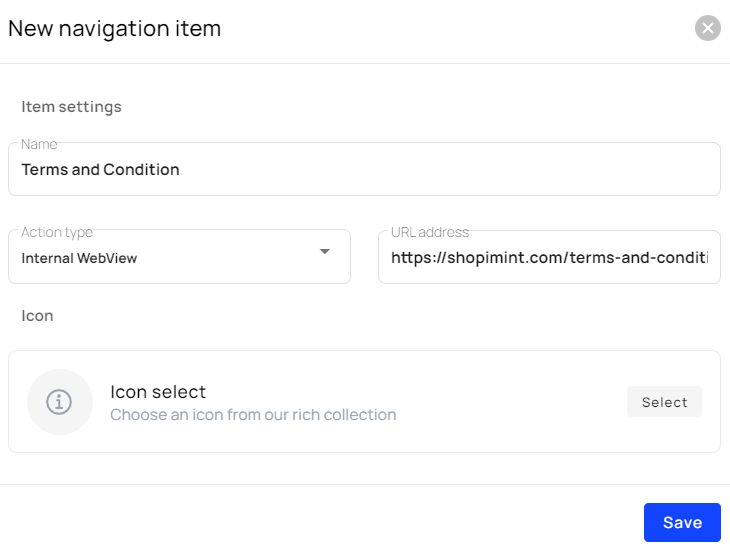
| Option | Description |
|---|---|
| Name | You can add a desired name to the Terms & Conditions page in the "Name" text field for the app display. |
| Action Type | Select "Internal Web View" for the action type as these types of pages act as web views. |
| URL Address | Paste your "Terms & Conditions" page link in this area. |
| Icon | Select an icon for the application display. |
04. Add About Us Page
You can add an About Us Page through the Navigation Page. To do that follow these steps.
Navigate to Pages ➝ Select the page you want to customize (Drop-down list) ➝ Profile & Settings Page ➝ Customize Button ➝ Profile Page Navigation ➝ Add Item ➝ New Navigation Item
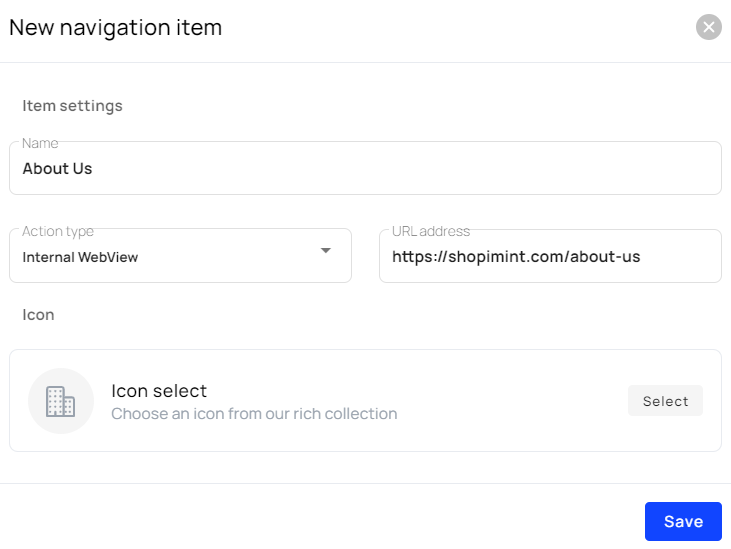
| Option | Description |
|---|---|
| Name | You can add a desired name to the About Us page in the "Name" text field for the app display. |
| Action Type | Select "Internal Web View" for the action type as these types of pages act as web views. |
| URL Address | Paste your "About Us" page link in this area. |
| Icon | Select an icon for the application display. |
Please make sure to press the Save Changes button to save the changes .