How to get an Apple developer account ?
Follow these easy steps to create an Apple Developer Account to successfully launch your iOS app
As per Apple's guidelines, an Apple Developer Account is mandatory nowadays for e-commerce store owners. Here is a step-by-step guide to create a developer account with Apple.
Step 1: Create an Apple ID
Visit the Apple Developer Account enrollment page by clicking this link: https://developer.apple.com/enroll/. Once you open the link, you will be asked to sign in to your Apple account. Go ahead and create an Apple ID if you don't have one yet!

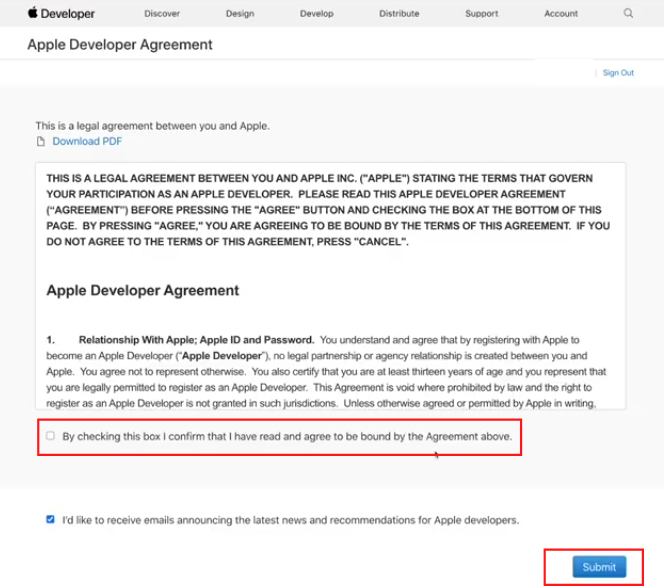
Step 2: Agree To Terms & Conditions
You'll be redirected to a Terms and Conditions page. Click on the checkbox under the terms and conditions, and click on Submit.
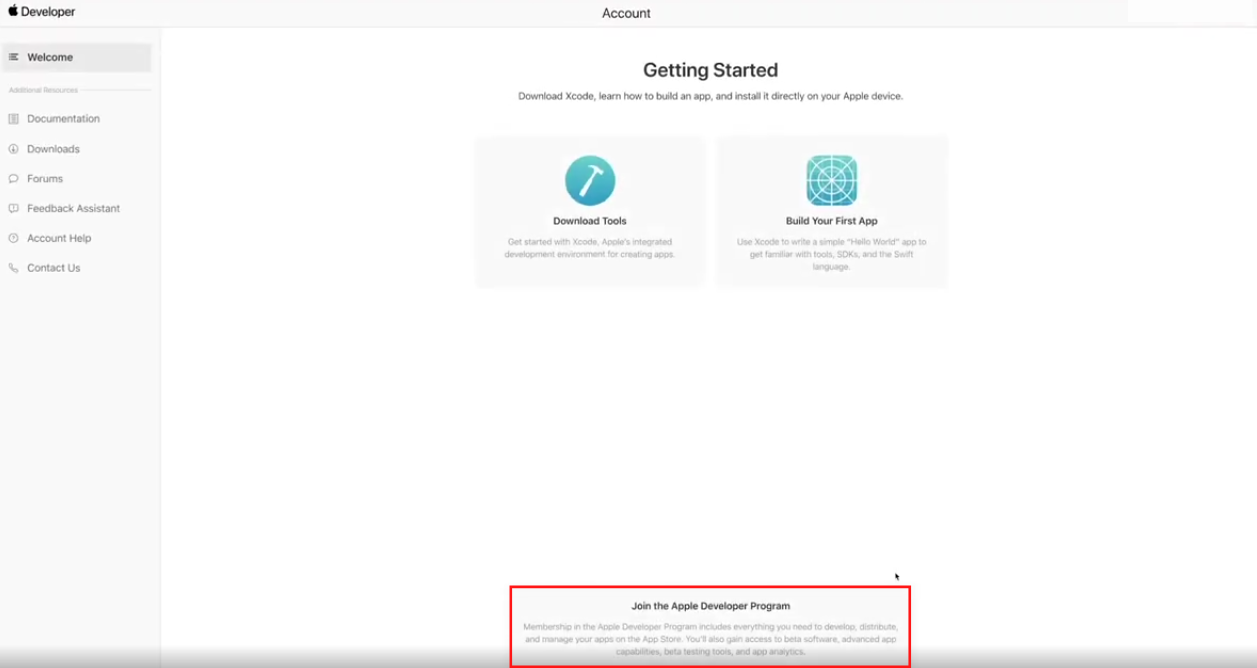
Step 3: Join To Apple Developer Program
You'll be redirected to the Apple Developer dashboard. You'll see a section that says "Join the Apple Developer program". Click on it to proceed.
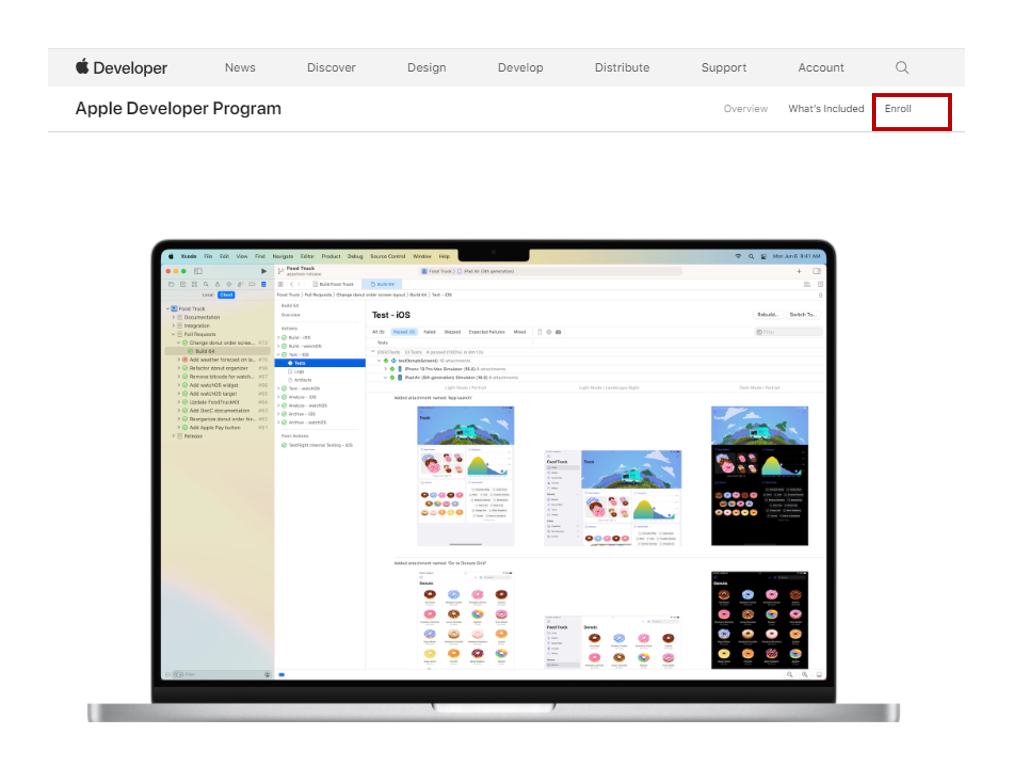
Step 4: Enroll In the Apple Developer Program
Click on the Enroll button at the top right corner of the screen.
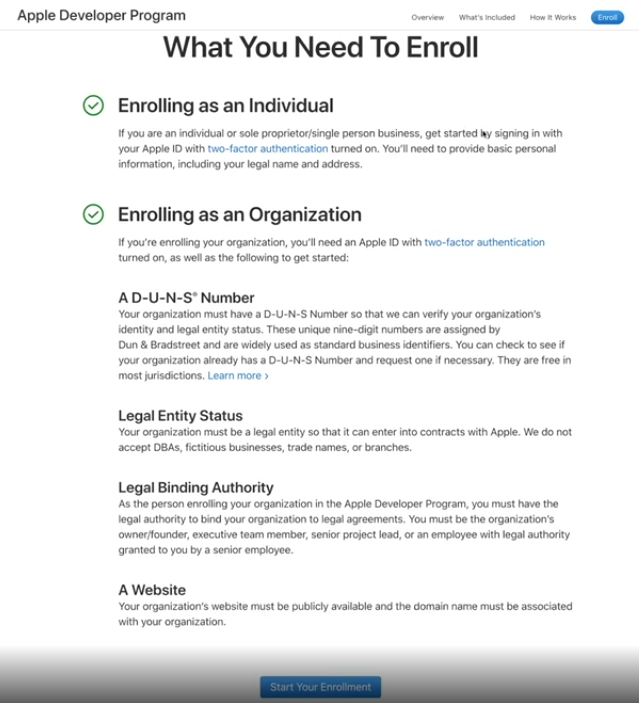
Step 5: Start Your Enrollment
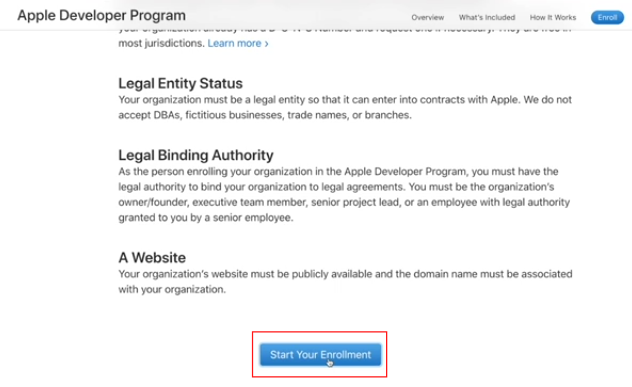
You'll now see a bunch of instructions and guidelines for enrolling in the developer program. Scroll down and click on Start your Enrollment.
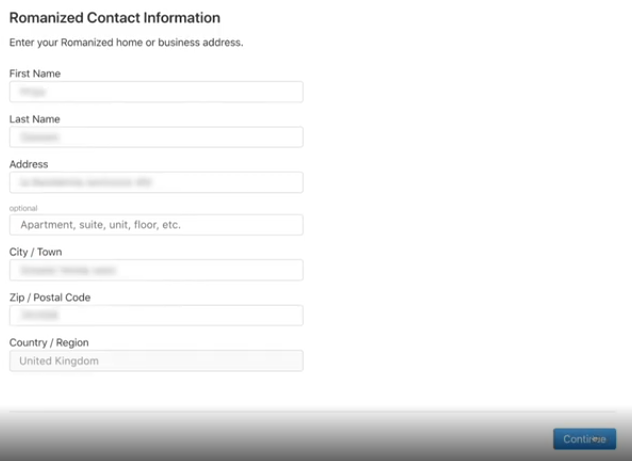
Step 6: Enter and confirm your personal information.

Click on Continue when you're done.
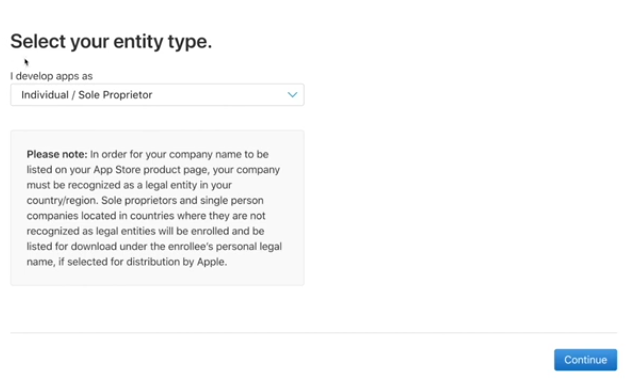
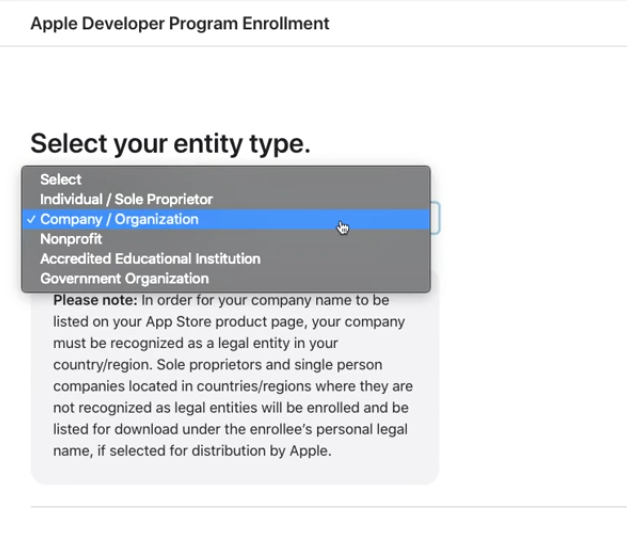
Step 7: Select Your Entity Type
Now, select your entity type. An entity type would mostly be the Company/Organization (if you have a properly registered company).
If you don't have a registered business or if you're running a Sole Proprietorship business, you can choose the first option - Individual / Sole Proprietor / Single Person Business.
Please note: It's mandatory to have Apple ID logged in to any one of your Apple devices (Mobile, Airpads, Apple iPods, Macbook & Mac mini) if you choose Individual / Sole Proprietor / Single Person Business.
Pick the type that's applicable to you and hit Continue.
Individual/Sole Proprietor Account
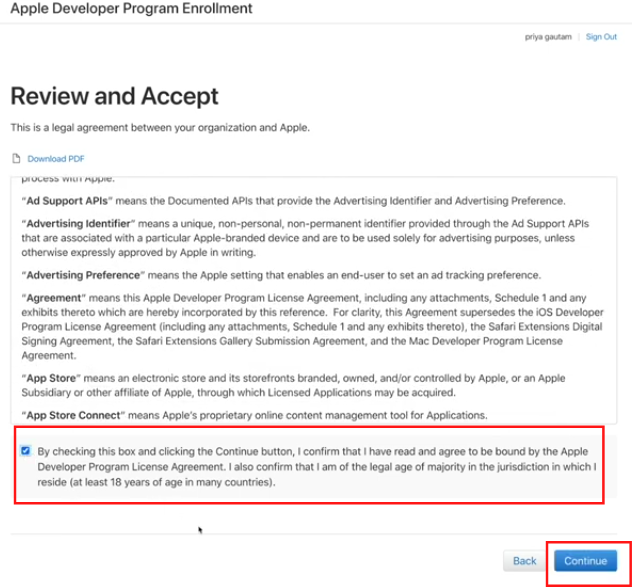
Step 1: Accept Policies
You'll need to accept their policies by clicking on the check box below the agreement, and click Continue.
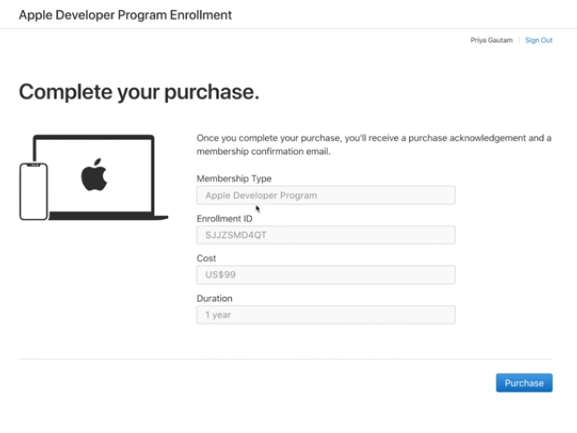
Step 2: Verify the details and click on Purchase.
Note: Apple Developer account enrollment costs $99 a year
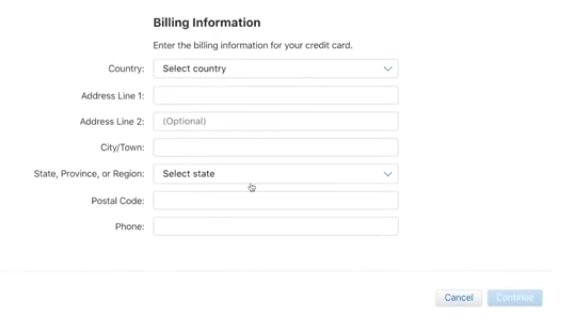
Step 3: Enter your payment details

Enter the billing address and click on Continue
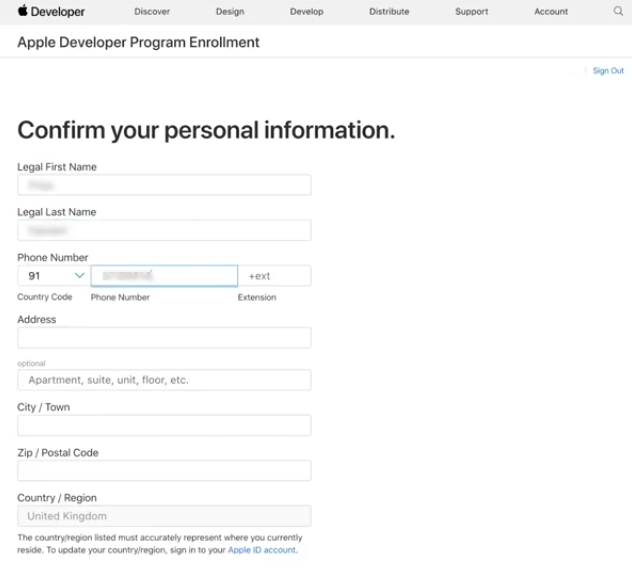
Step 4: Enter Your Personal Details
Finally, enter your personal information and click on Continue
Once your payment is complete, within 48 hours you will receive an e-mail from Apple requesting you to activate your account. Click the link in the email to activate it.
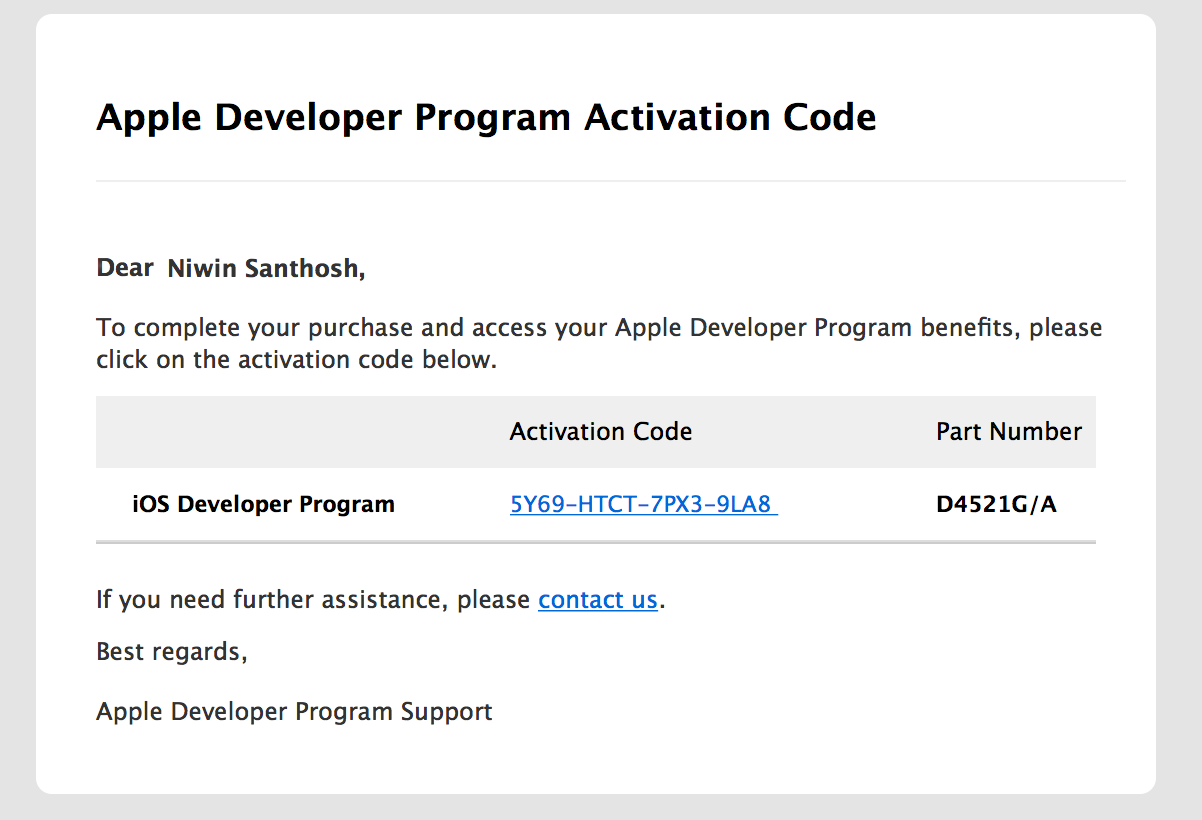
Once you click the activation link, your developer account will be activated.
Company/Organization Account
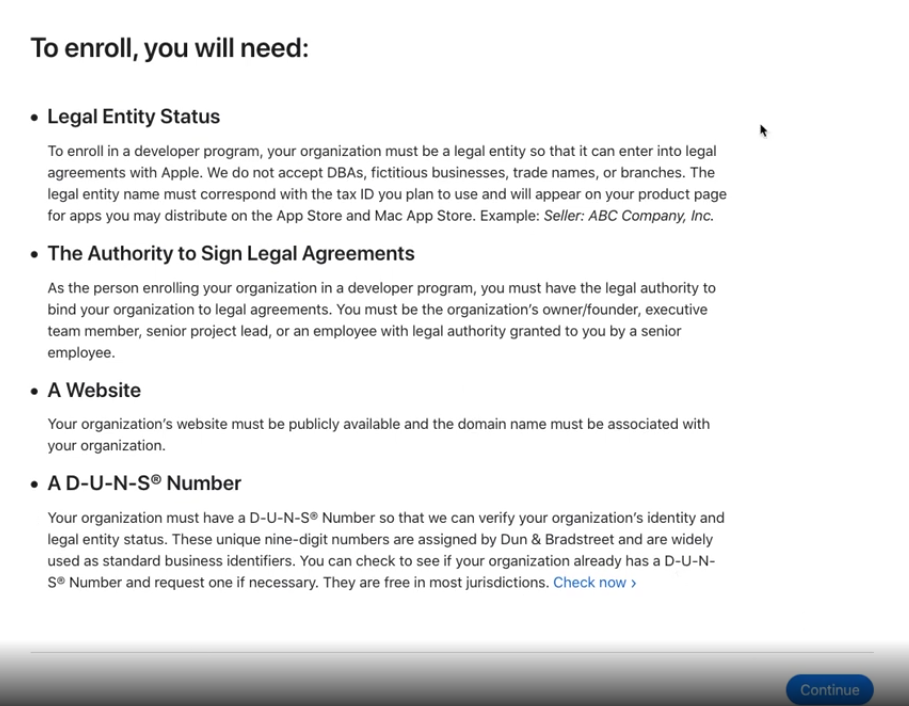
Step 1: Enrollment Checklist
You'll see an enrollment checklist. Go through it and click on Continue
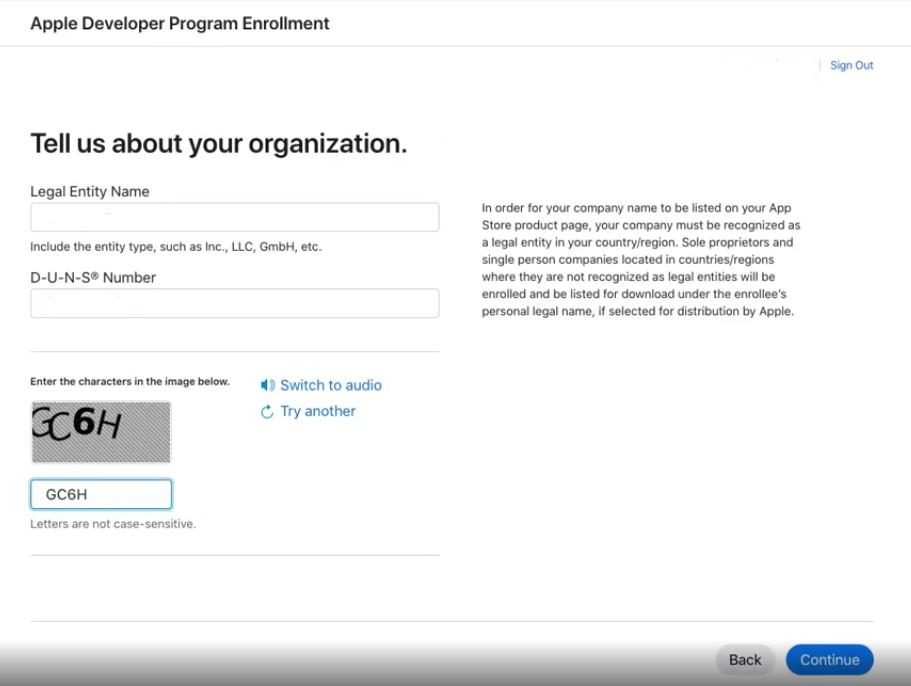
Step 2: Enter Organization Details and DUNS number
Enter your organization details and your DUNS number, and click on Continue
DUNS number is something assigned by D&B to all the businesses around the world. If you don't know your DUNS number or if you haven't got one yet, you can get it free by filling in your company details in this link: https://developer.apple.com/enroll/duns-lookup/#/search.
Note: If you want to bypass the DUNS number just sign up as an Individual. You just need to remember that your name will appear as the developer in the iTunes store.
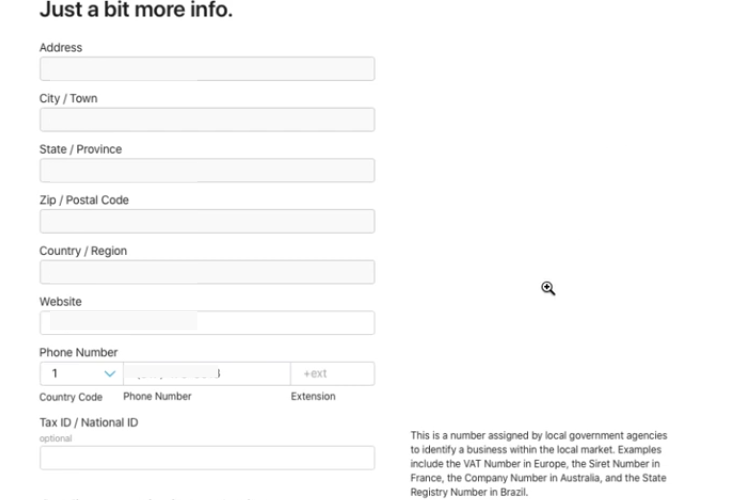
Step 3: Enter all the details requested of you
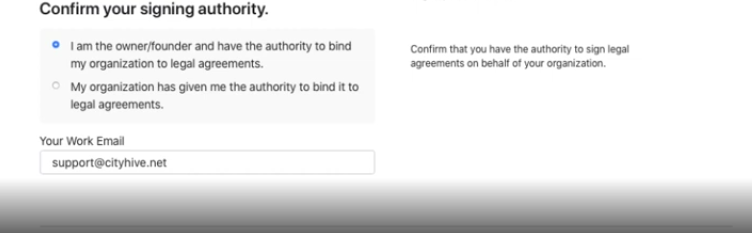
Step 4: Confirm Your Authority
Confirm your authority to create the developer account on behalf of your organization and click on Continue
You'll get redirected to a confirmation page, and then an email containing your enrollment ID. Watch out for a verification phone call as well from Apple. Once everything is finalized, you'll receive a link to the payment page.
That's it! You're good to go!