How to publish your app to Apple App Store
Now that you have gotten your iOS app ready and decided to get into the Apple App Store, follow the detailed steps to efficiently publish an app to the Apple App Store.
If you don't have an Apple Developer Account, please refer to our article about How to get an Apple Developer account

Step 1. Add iOS Key to Shopimint App Builder
Generate API Key for the app.
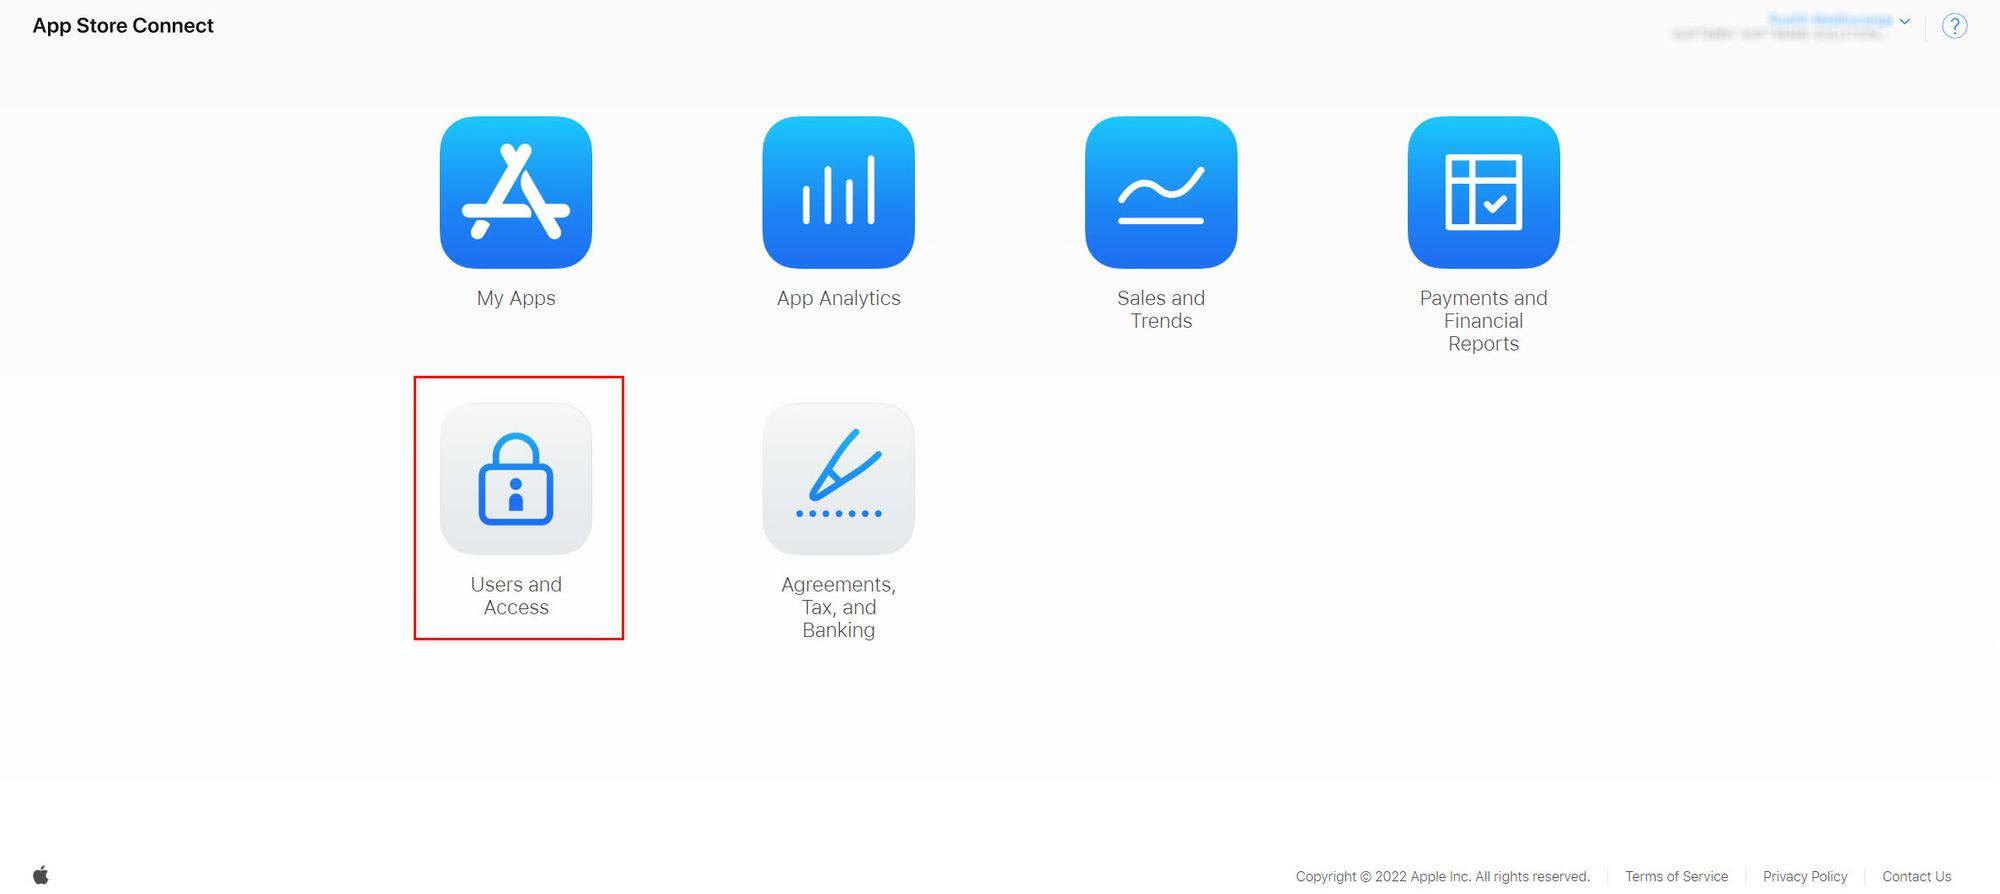
First, log in to your Appstore Connect account using this URL

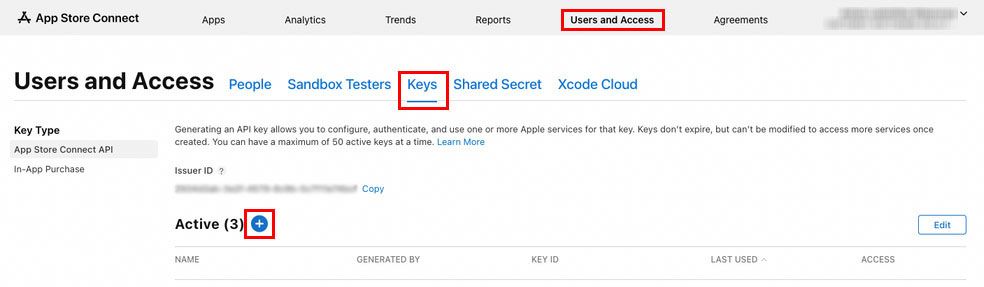
Then click on Users and Access from the menu and select Keys from the next page's top menu. Then click on the Blue color plus icon button as marked in the screenshot below.
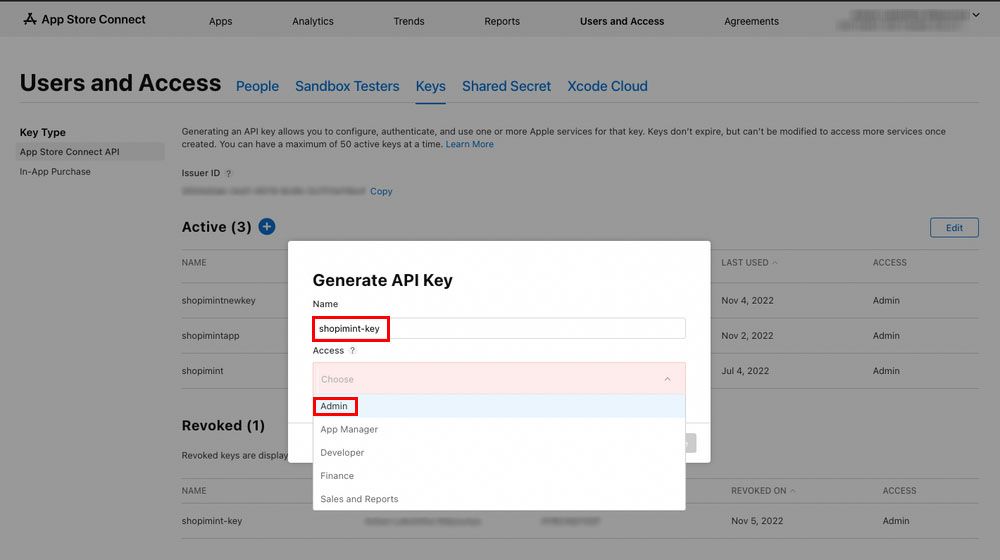
Give "shopimint" as the name and then click on Choose the button below the Access text. Now select Admin from the dropdown list.
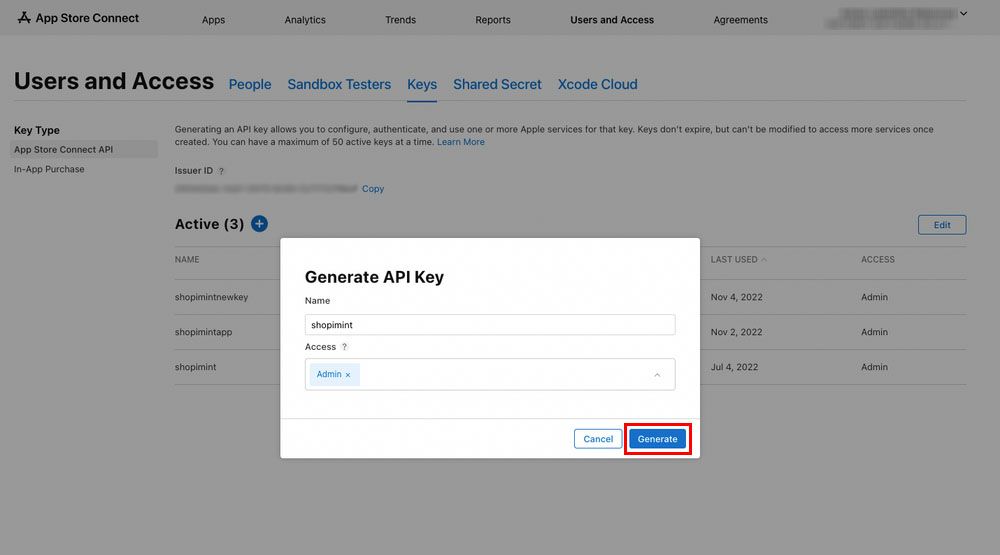
Next, click the Generate button to Generate a new API Key for your app.
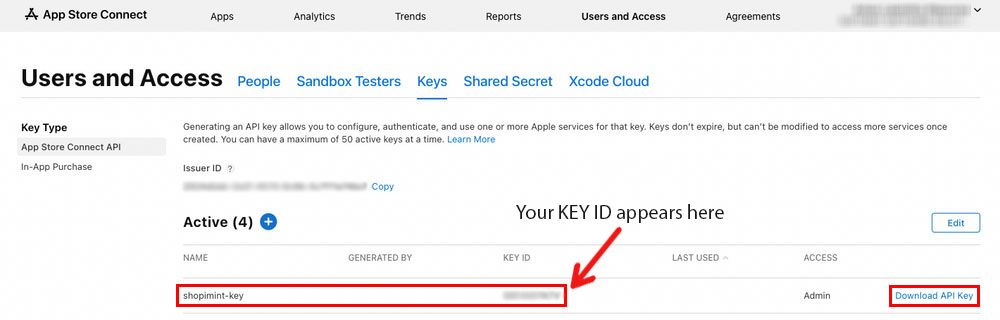
In a few seconds, you can see your generated API key at the top of your Keys list. Then click the Download API Key button (marked in the screenshot below) to download the generated key into your computer.
Upload API Key to Shopimint App Builder.
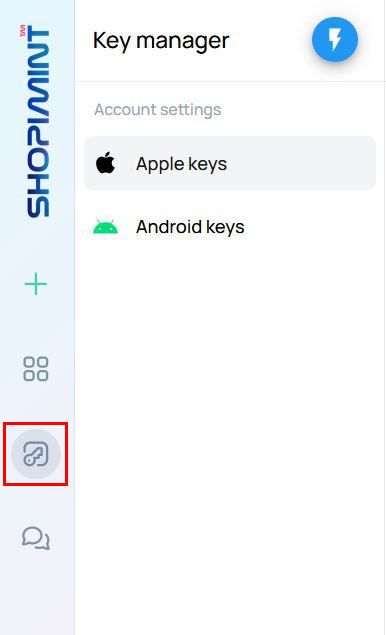
Open Shopimint App Builder and click on the Key Manager button in the left panel. Show as screenshot below.
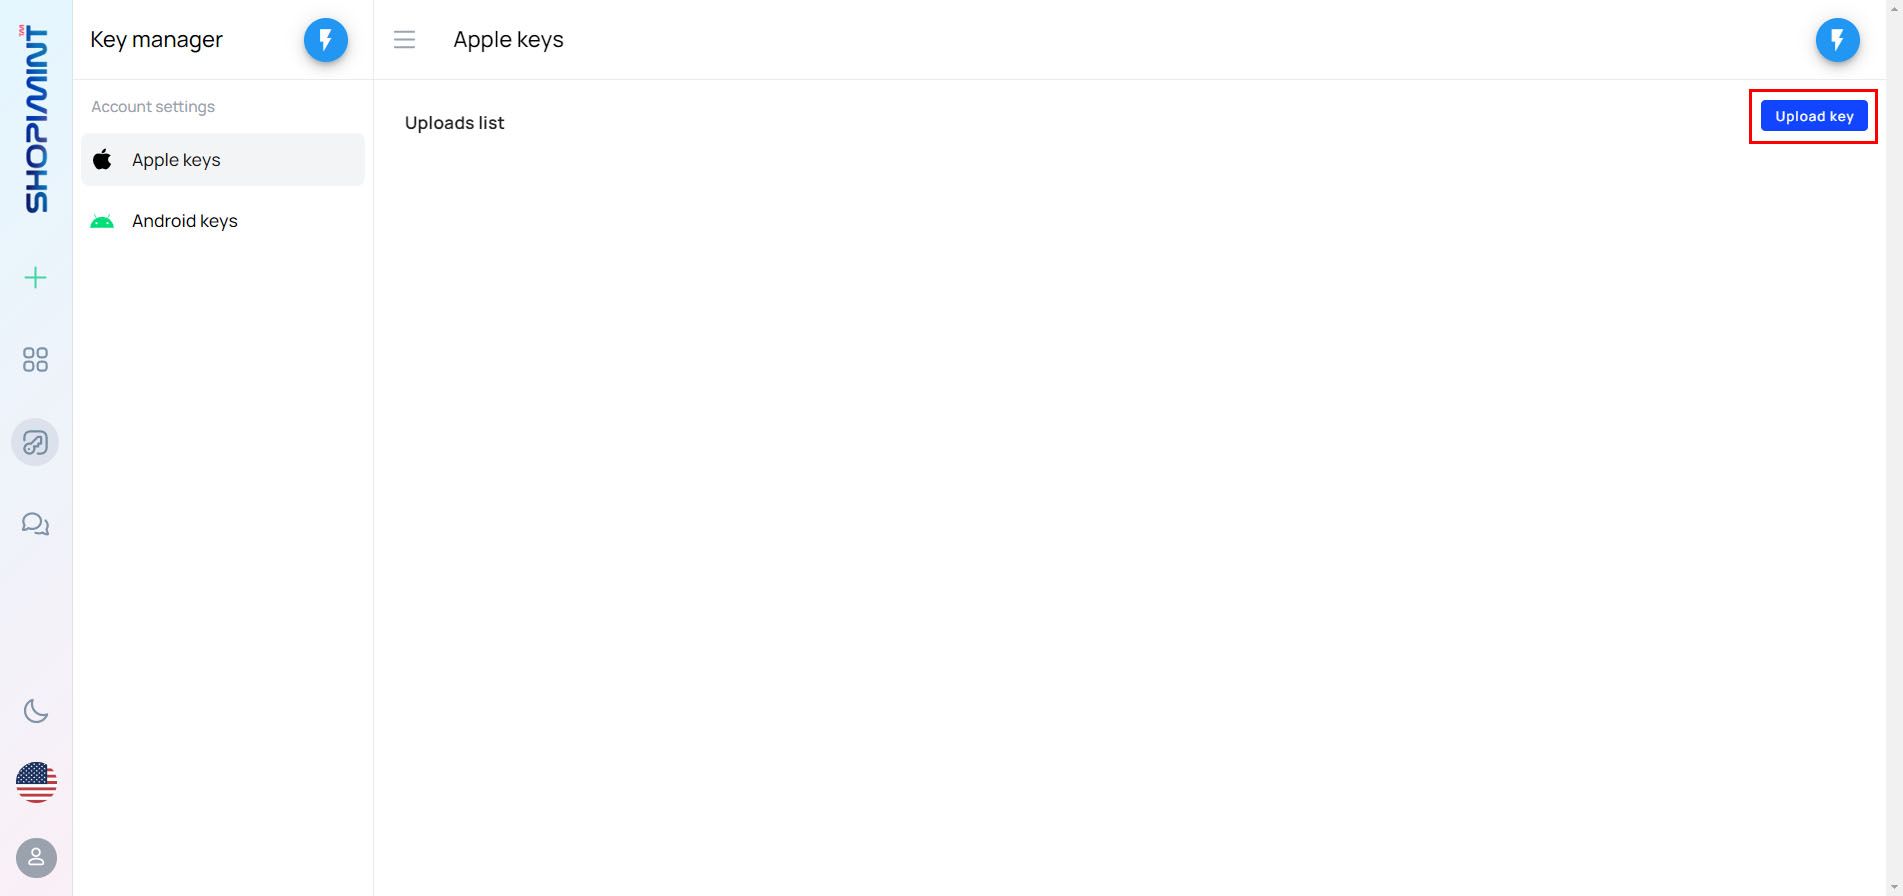
Next, click the Upload key Button on the top-right corner.

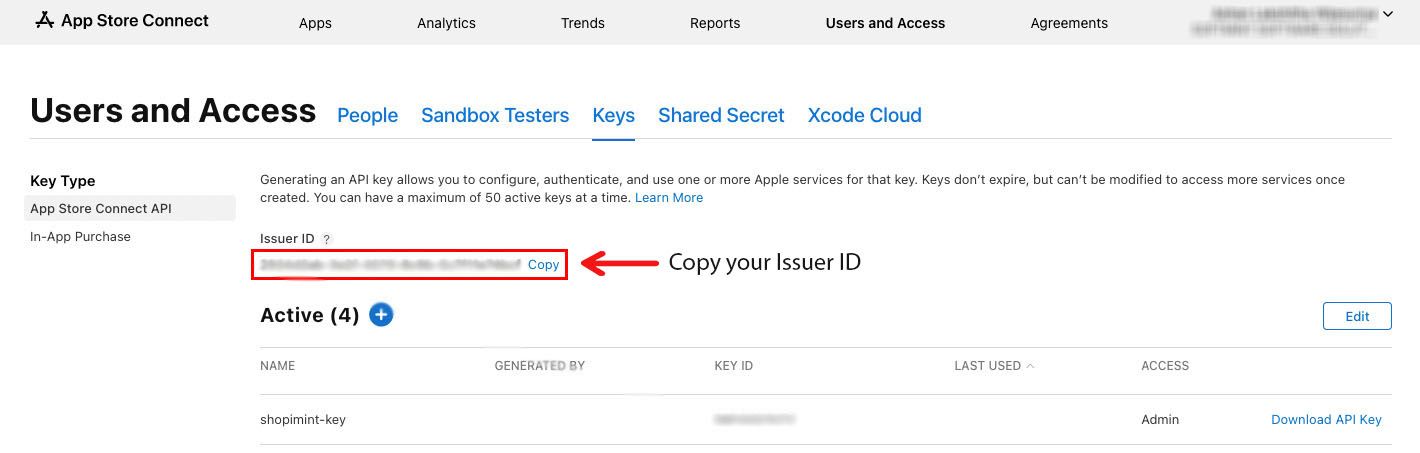
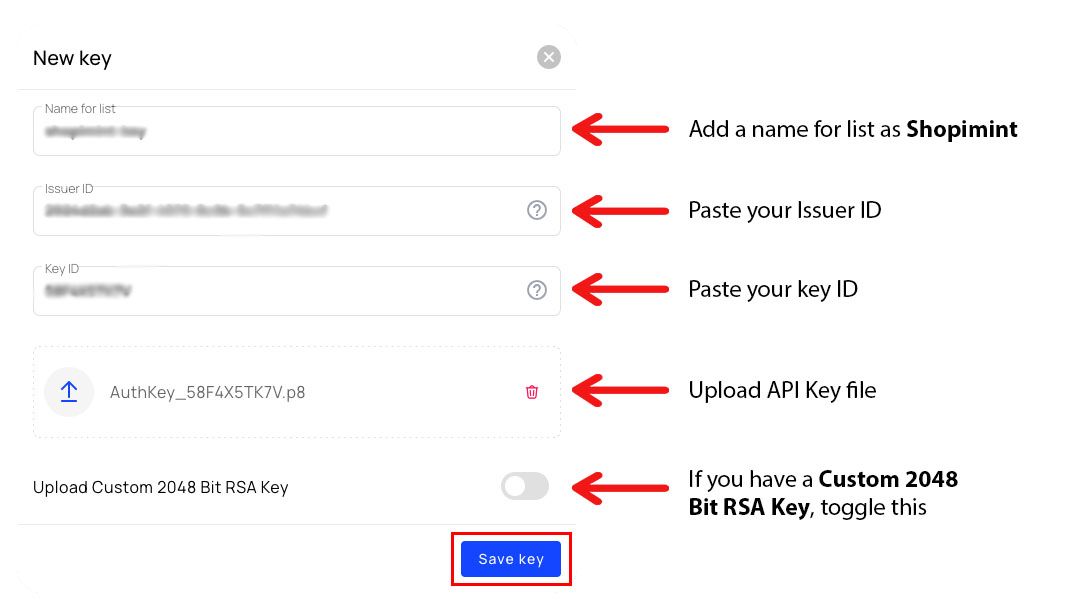
Then Give a name for the list. The next step is to add the Issuer ID to the builder. To get the Issuer ID, you have to move again to the Appstore Connect ➝ Users and Access section. Now you can see the Issuer ID is showing at the top of the page and there is a Copy button next to the ID. Click on it and copy that ID.
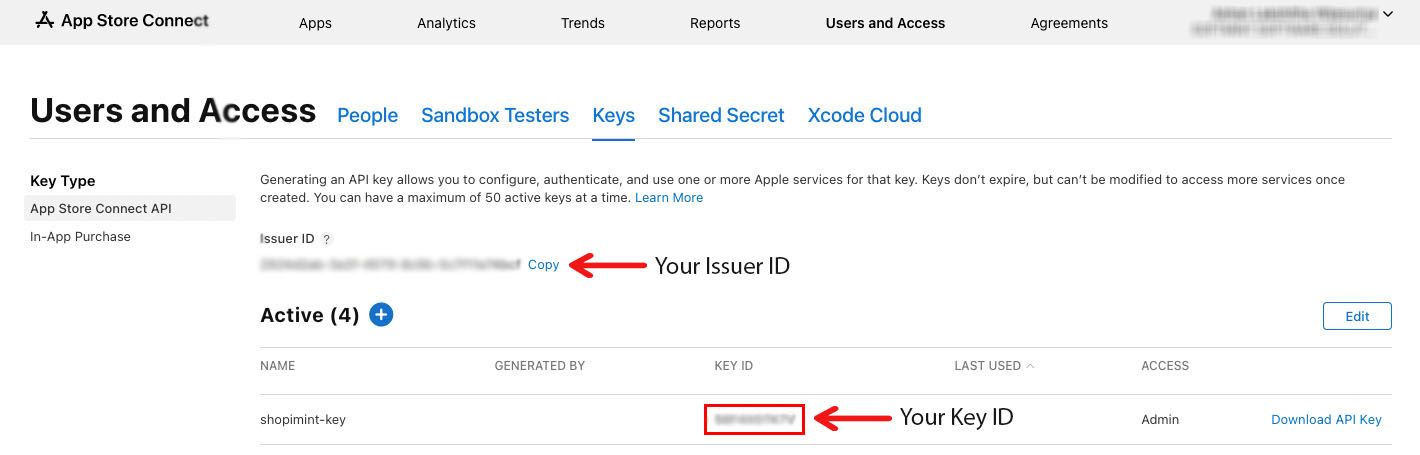
Now move again to Shopimint App Builder and paste the copied ID into the Issuer ID text field. The next step is adding a Key ID to Shopimint App Builder. To get that you have to move again to Appstore Connect ➝ Users and Access section and copy the value under the KEY ID of your newly generated API Key from the list.
Now move again to the Shopimint App Builder page paste the copied value into the Key ID text field and upload a file with the .p8 extension downloaded in the above steps by clicking the Choose a .p8 API key file or drag it here button.
(Make sure you did not toggle the Upload Custom 2048 Bit RSA Key switch if you don't have a Custom 2048 Bit RSA Key).
Finally, you can click the Save key button to save these changes.
Step 2. Create an App on AppStore Connect
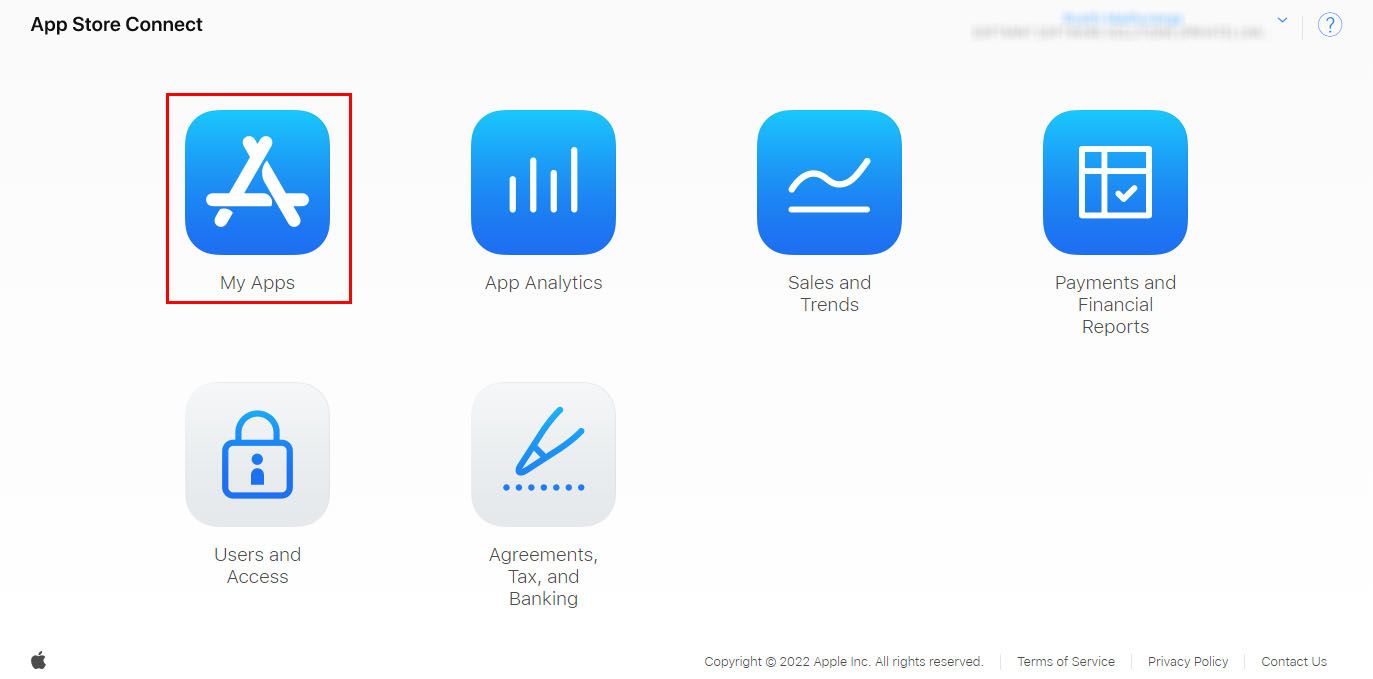
First, log in to your Appstore Connect account using this URL
Then click on the My Apps button from the list.
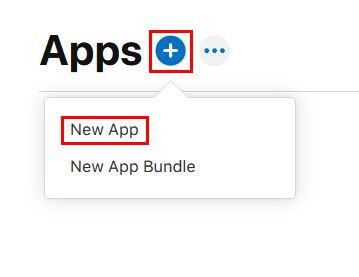
Click on the "+" button and select "New App".
Select iOS from the Platforms list at the top of the form. Then give a Name for your app. Next, select Primary Language as your choice. Next, click the Choose button below to Bundle ID and select your Bundle ID from the drop-down list. Then add a unique identifier for your app that is only used in reports into the SKU text field (This is not visible in the App Store). Finally, select the Full Access option for User Access.
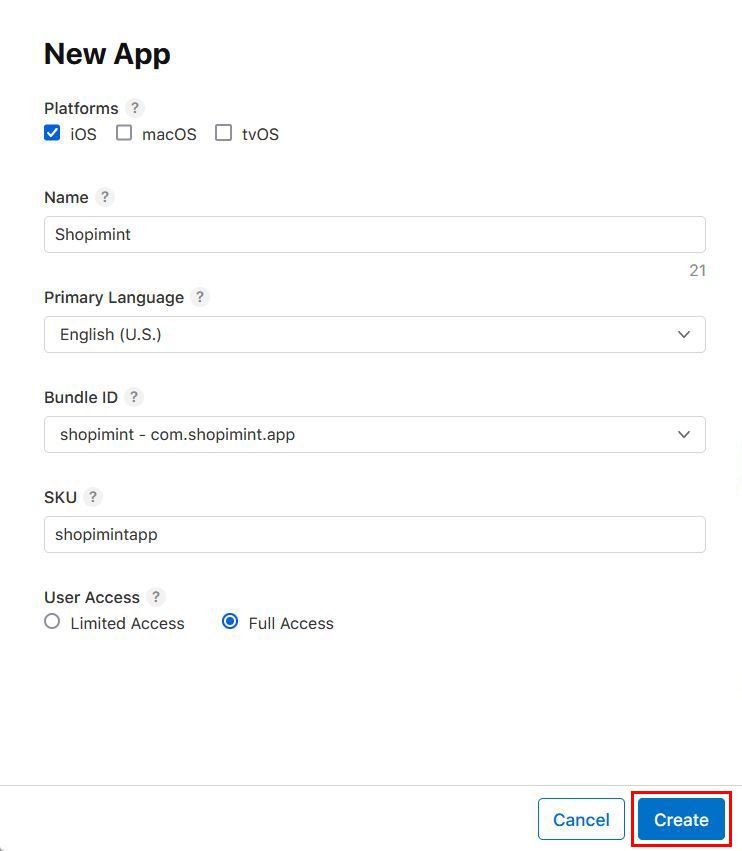
Next, click on the Create button to finish creating your app on the App Store.
Step 3. Generate an IPA file to distribute your app to the App Store
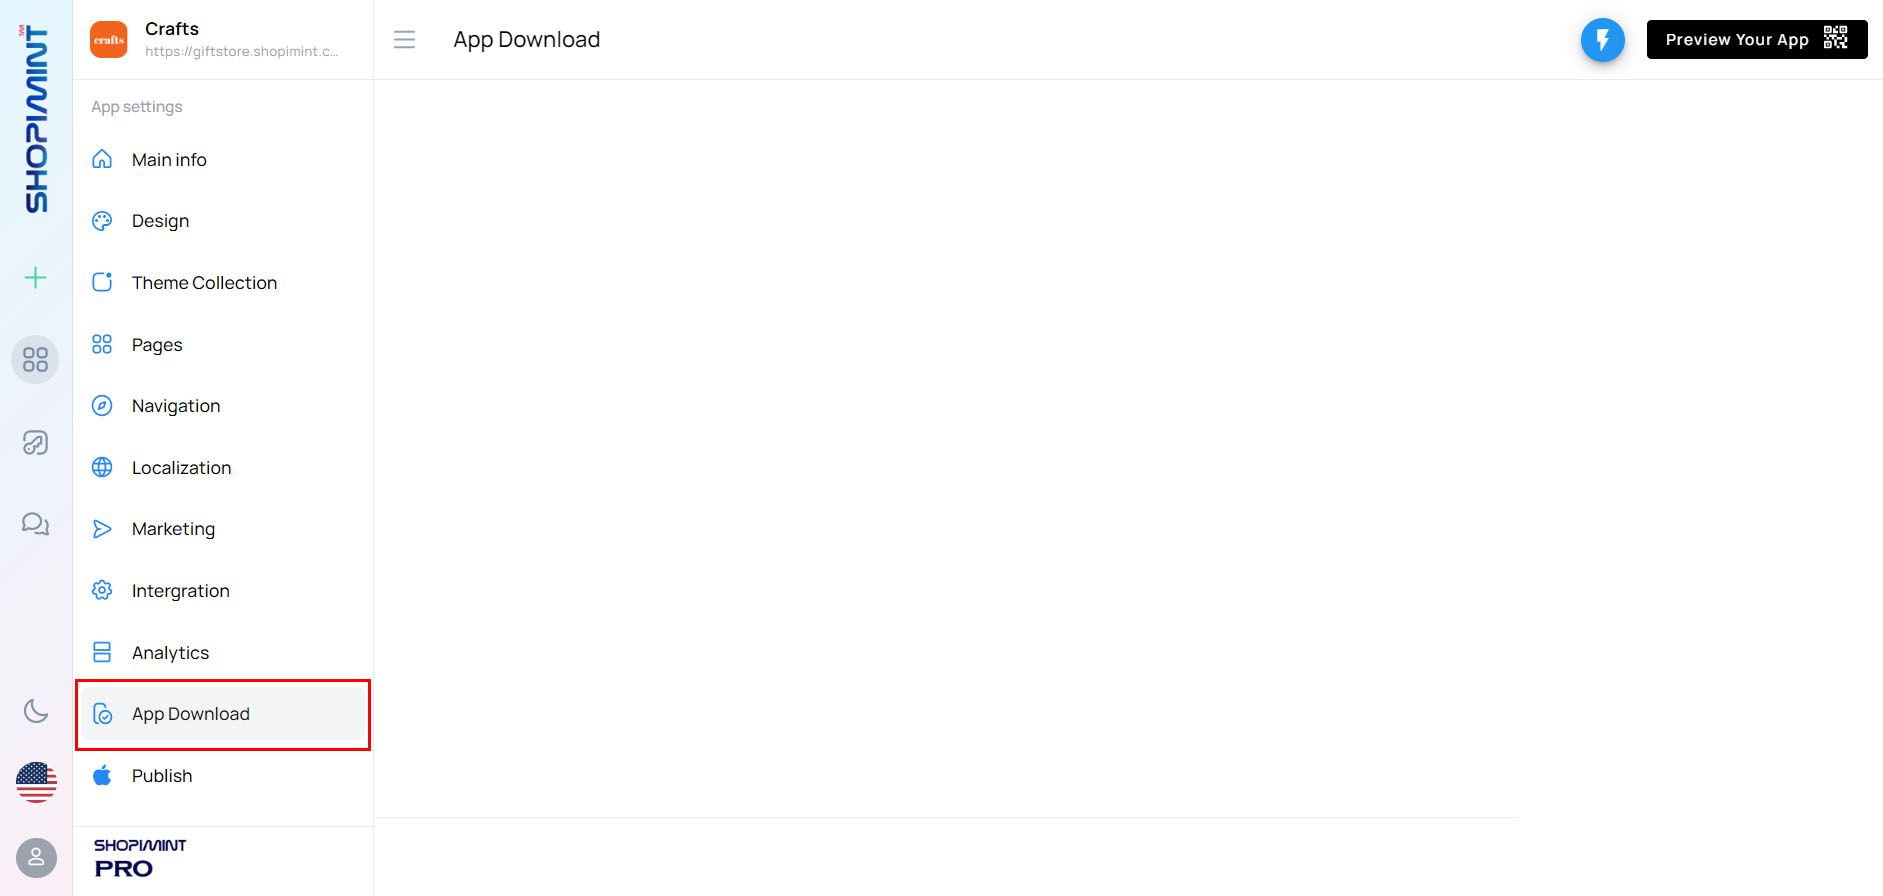
To generate the IPA file of your app, you need to log in to your Shopimint App Builder account. Next, click on the App Download button on the left panel bottom.
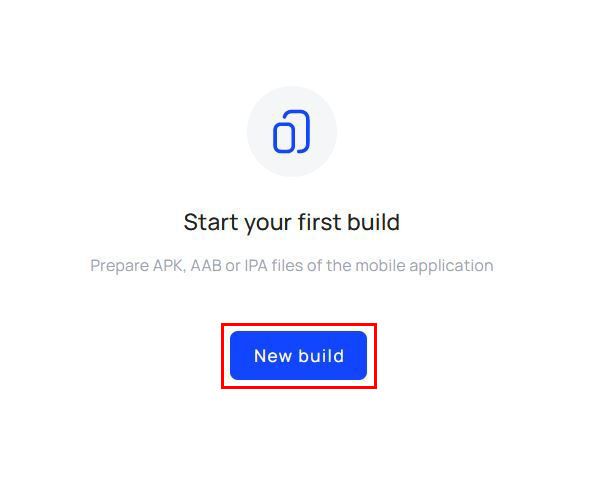
Then click on the New Build button in the center of the page.
Next, select the iOS button with an Apple icon on the top-right side and change your app build version if you need to. Then click on the Choose signing button and select your signing key from the list (You uploaded in the above step). The final step is toggle the switch next to Publish in AppStore Connect (This option will automatically upload your IPA file into your Appstore Connect Console).
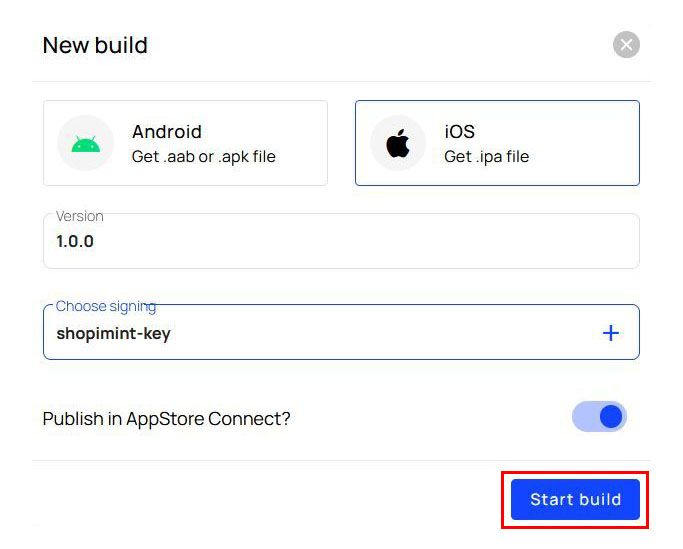
Finally, click on the Start Build button to start the job. Then you can see your job status in the Builds list.

It will take a few minutes for the build process. After the build is successful, you can see your job status will be changed to Completed status as mentioned in the screenshot below.

If your build fails to complete, your status will be changed to Fail build status as mentioned in the screenshot below. In such cases, you can get our help by contacting us.

Step 4. Add your app to TestFlight and Add testers
1. Add Testers
Now login to your App Store Connect account. Then click Users And Access.
Then click on the Blue plus (+) icon. Mentioned in the screenshot below.
After clicking on that icon, you can see a form for adding new tester information. Fill in all the information and select recommended Roles for the new tester. And click the Invite button.
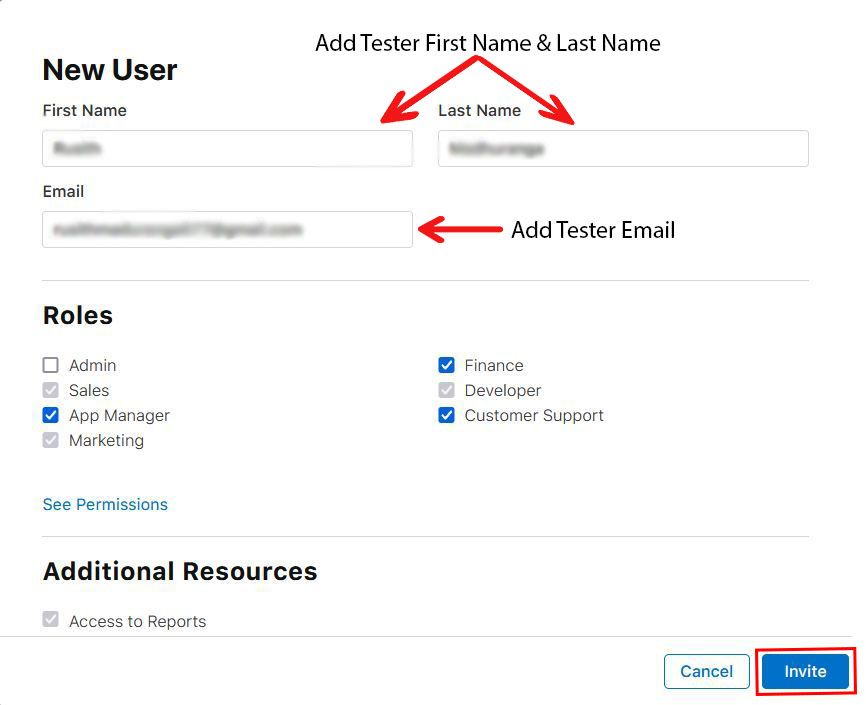
When you press the Invite button. An invitation e-mail was sent to the tester you were added. When the tester accepts the invitation, you can see added tester on the tester list.
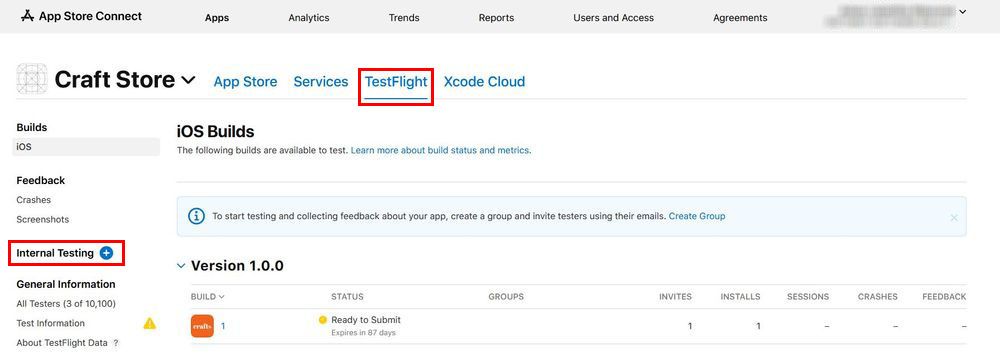
Next, move again to the App Store Connect home page and click on My Apps. Then you can see your app list on the next page. Click on your app from the app list. It will bring you to the app information page. Click on the TestFlight button on the page's top bar (Mentioned in the screenshot below). Next, click on the Blue plus (+) icon next to the Internal Testing text(This is also mentioned in the screenshot below).
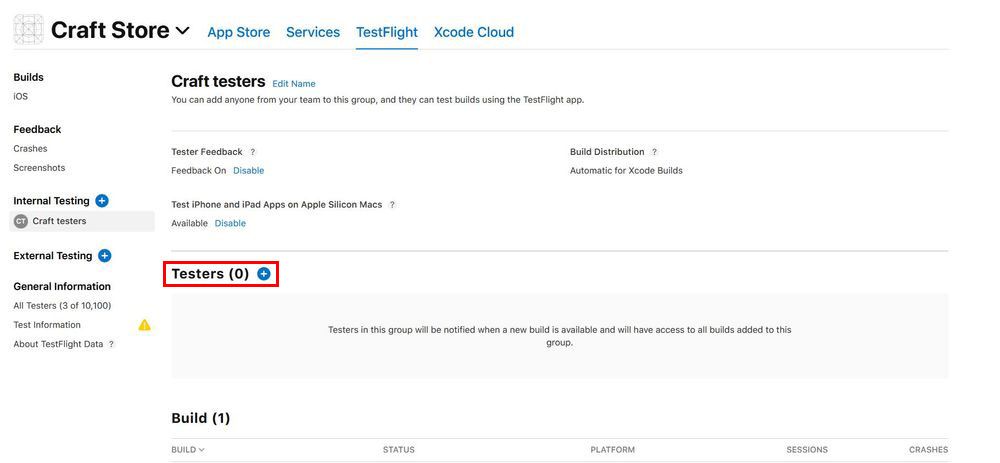
Give a Group Name for your Internal Testing Group and click the Create button for the next steps. After clicking on Create button you will bring to the testers group information that page you have created.
Next, click on the Blue plus (+) icon next to the Testers text.
Then, select one or more testers you want from the list in the next popup dialog and click the Add button to add the selected tester to the testers group.
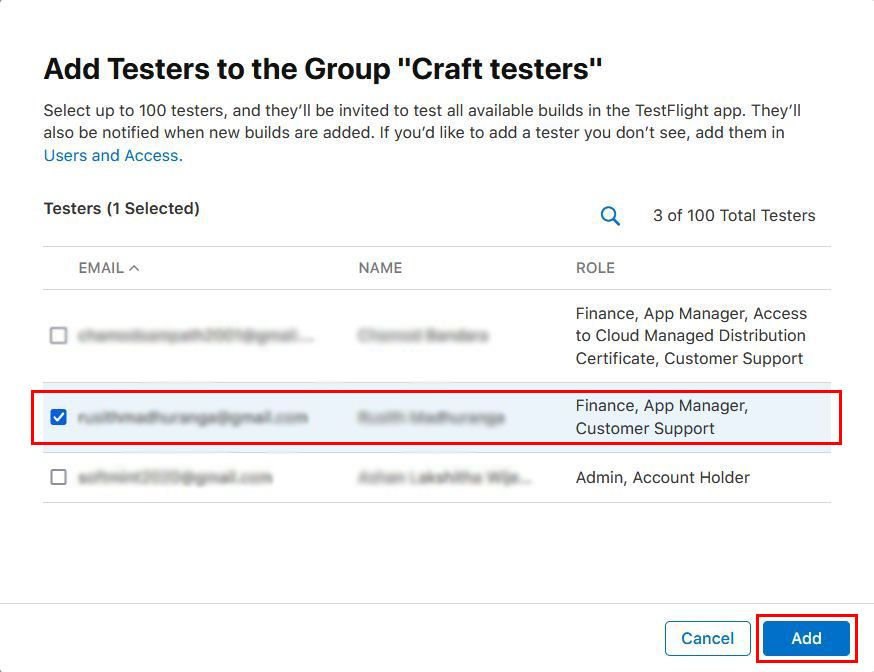
Now you have added testers to your app and test your app with them for future changes.