How to publish your App to the Google Play Store ?
Now that you have gotten your app ready and decided to get into the Google Play Store, follow the detailed steps to efficiently publish an app to Google Play.
Step 1: Google Play Console
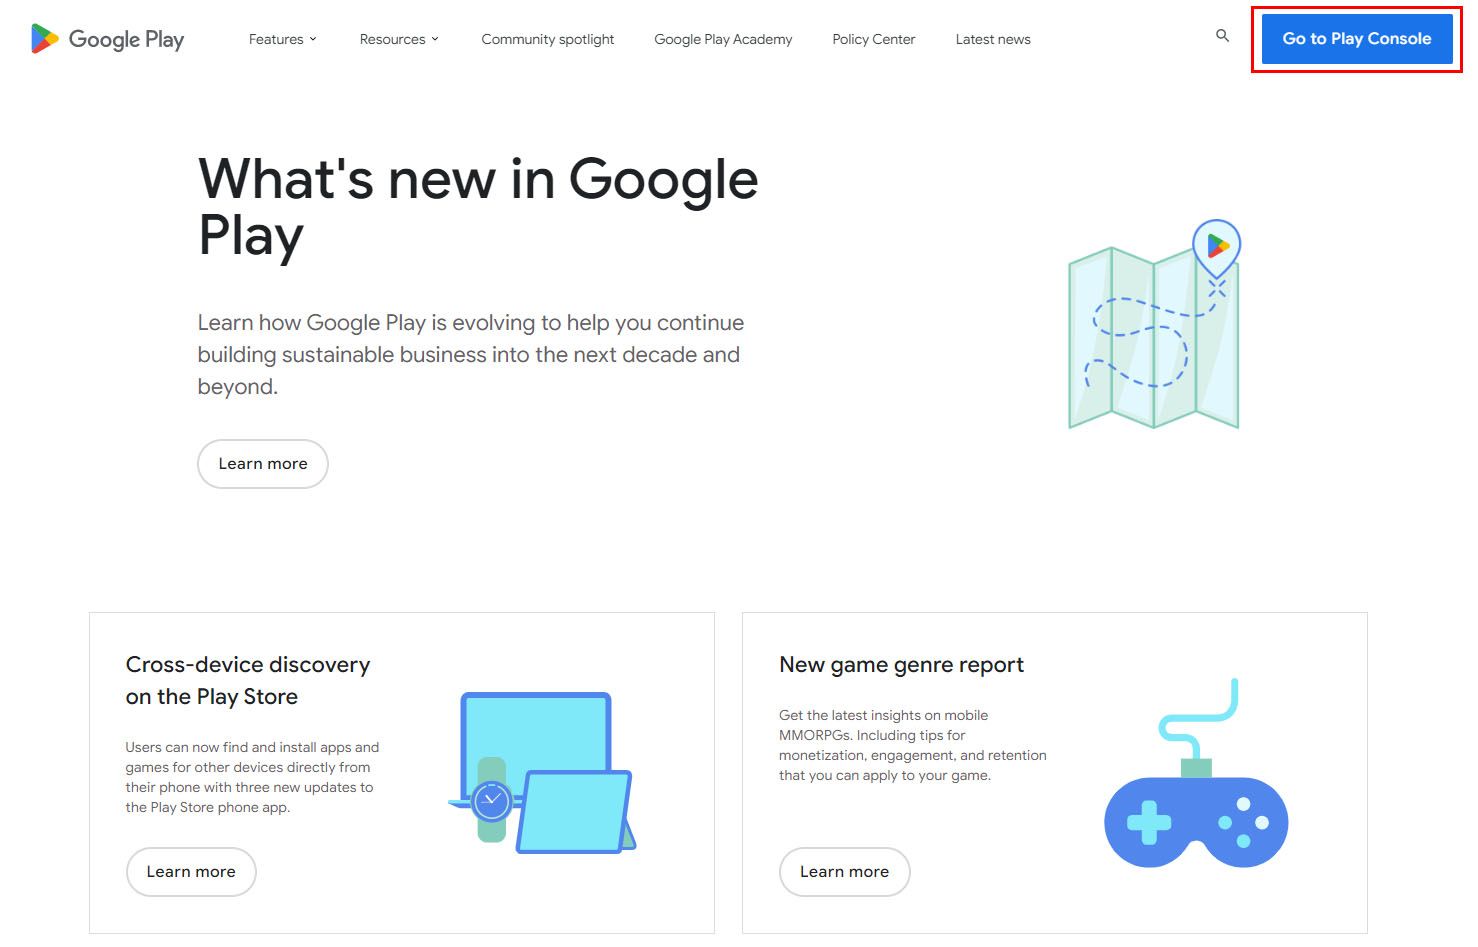
To publish your app on Google Play, a developer account is mandatory. If you don't know how to create a Google developer account, Please read the article "How to get a Google Play Console".
If you already have a developer account or once you've created one, visit the Google Play Console to continue.
Step 2: Go to Play Console
After going to the Play console select your developer account.
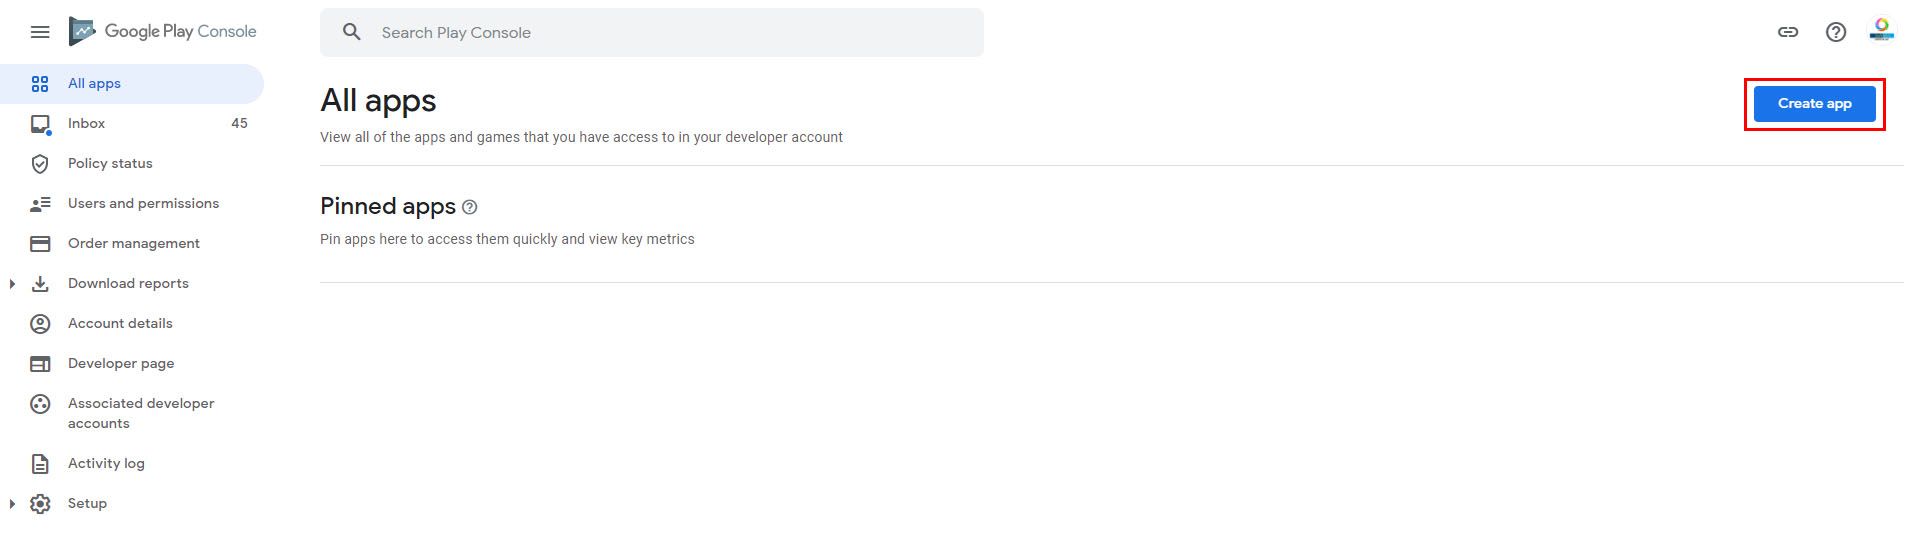
Step 3: Create App
Finally, the actual process of submitting your app to Google Play begins from here. From your Google Play console, select All Apps from the left menu and click on Create App.
Step 4: Enter App Details
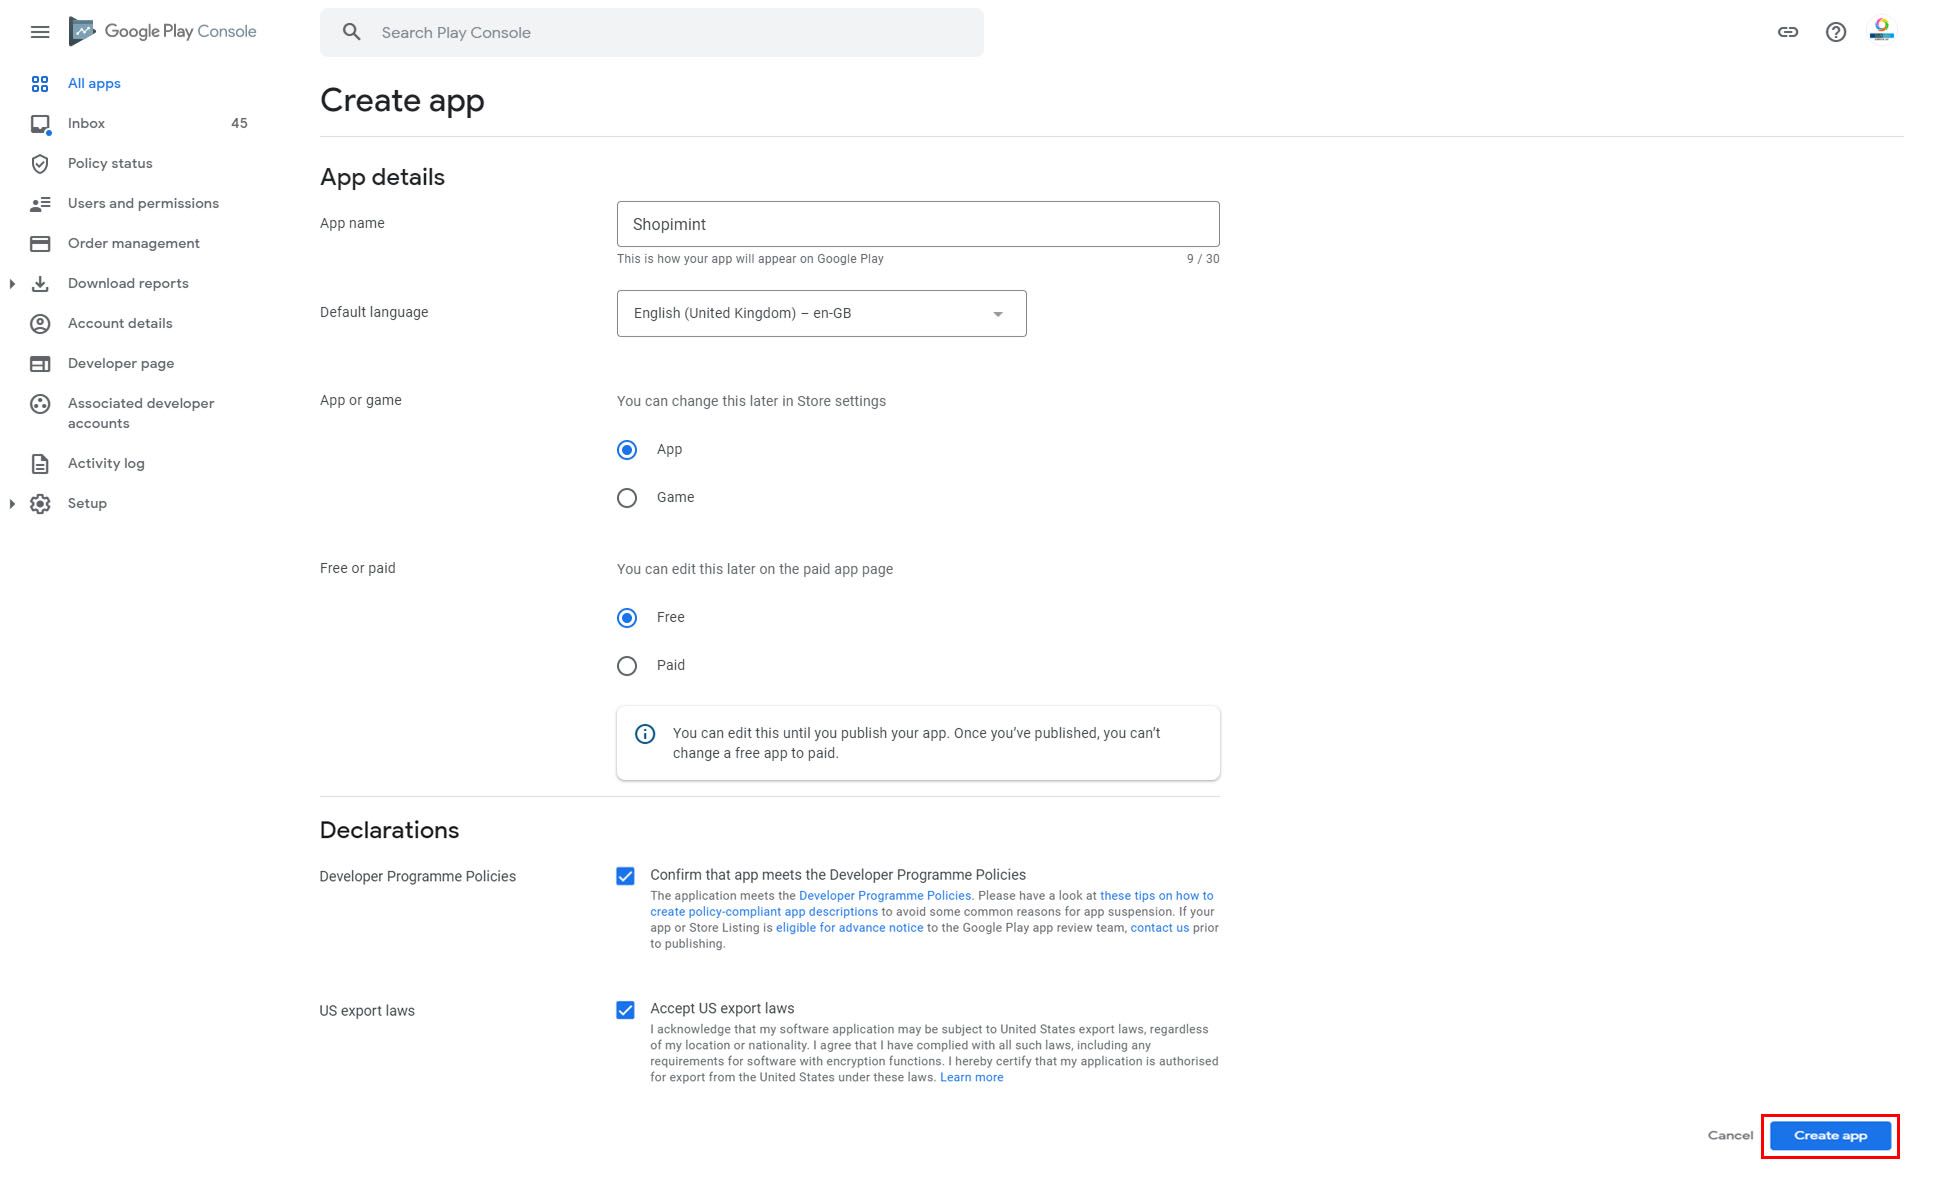
As you create a new app, you need to enter your App Details.
| Option | Description |
|---|---|
| App Name | Enter the name of your app up to 30 characters long. Your App on the Google Play Store will appear with this name. |
| Default Language | Set the language of your app from the dropdown menu. |
| App or Game | Select whether it is an app or a game. |
| Free or Paid | Specify whether your app will be available for free or if the user needs to pay for it. Although it can be updated from the Paid app page later on. Note - You can only change this until you publish your app. Once the app is published you cannot transform your app from free to paid. |
Then Google Play Console asks for affirmations from you. Make sure your app matches the Developer Program Policies and Accepts US export laws.
Then click on Create App.
Step 5: Set up Store Listing
As soon as you click on Create App, you will be redirected to the App Dashboard. Expand the Set up your app option and select Set up your store listing.
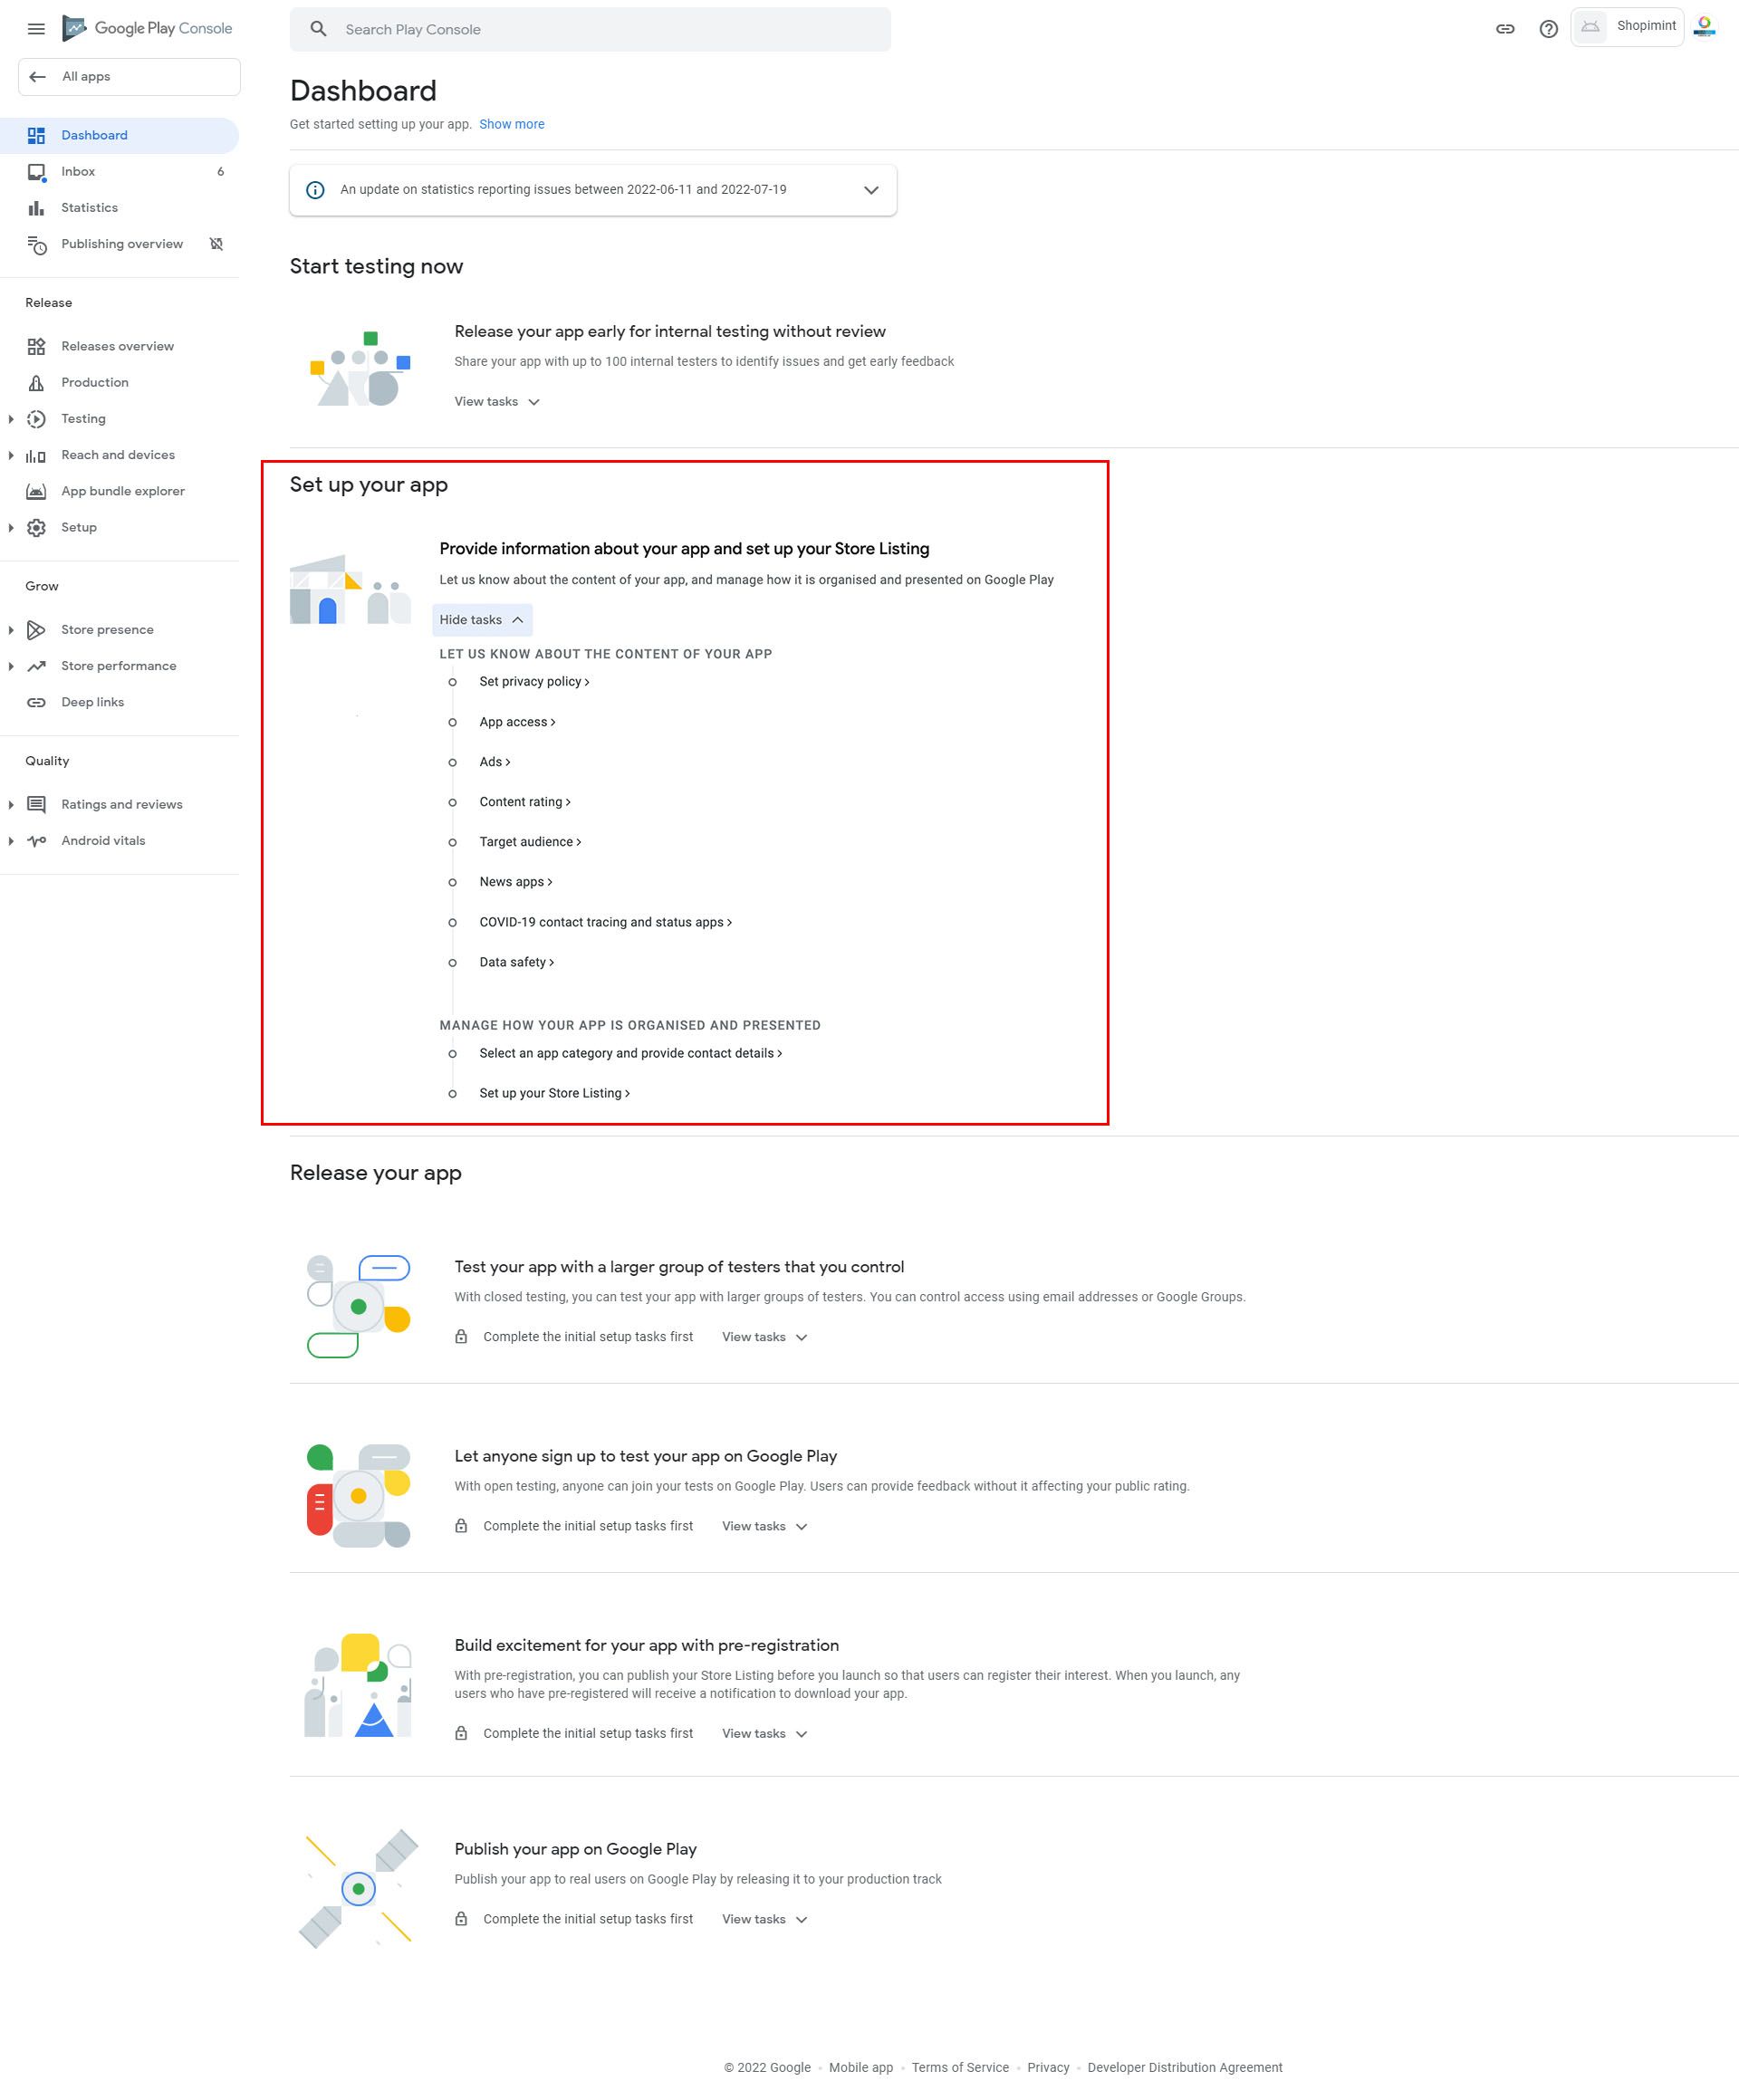
Now let us study the tasks included in it separately.
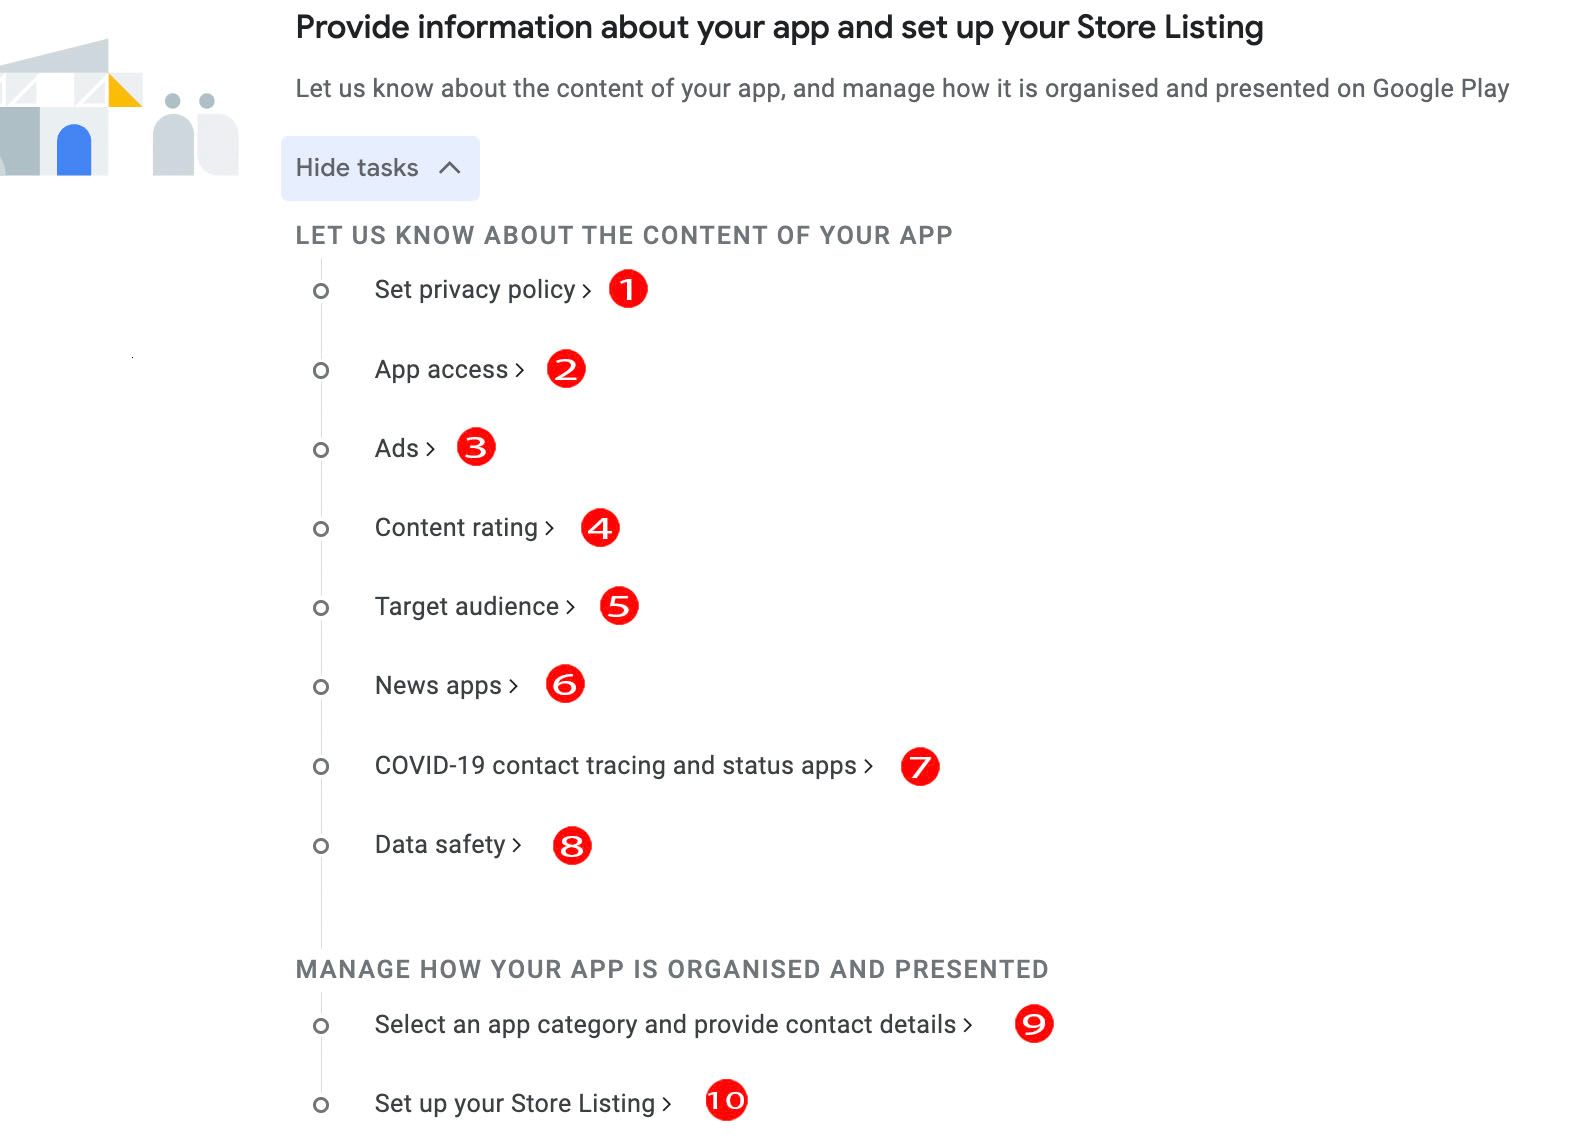
1. Set Privacy Policy
Include your website's privacy policy link in this.
After adding the privacy policy, save and return to the Control panel. Click on the second option, App Access.
2. App Access
If access to parts of your app is restricted, provide instructions on how to access those parts. Select the All functions available without a special access button if you have not restricted them, or the All or some of the functions are restricted if you have restricted them.
If there are restrictions in your application, you should add a maximum of 5 instructions. For example, if your application is closed to users in a certain country, you must specify this in the Name section when adding instructions. Google may want to review the areas you restrict, so the information you enter in this section is important.

After adding the details, save and return to the Control panel. Click on the third option, Ads.
3. Ads
Click Yes if your app contains ads or No if it doesn’t and save and return to the Control Panel.
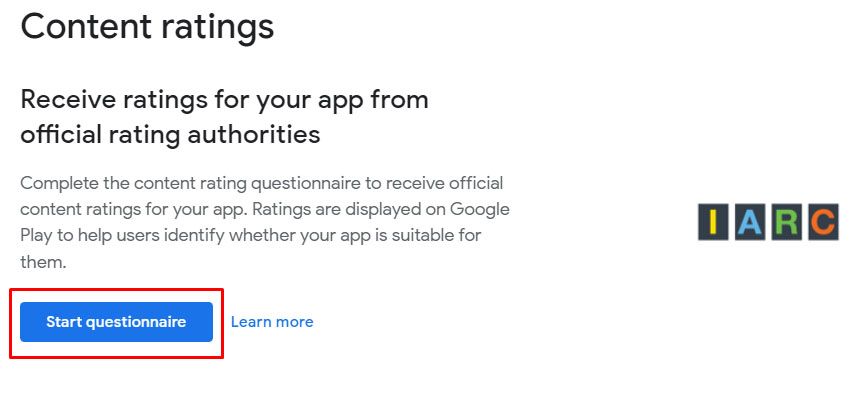
4. Content Rating
The next step is Content Rating. This step is very important otherwise it will be considered an Underrated app and will be removed from Google Play Store. So Content Rating is imperative.
From your app Dashboard, go to Set up your app and select a Content rating.
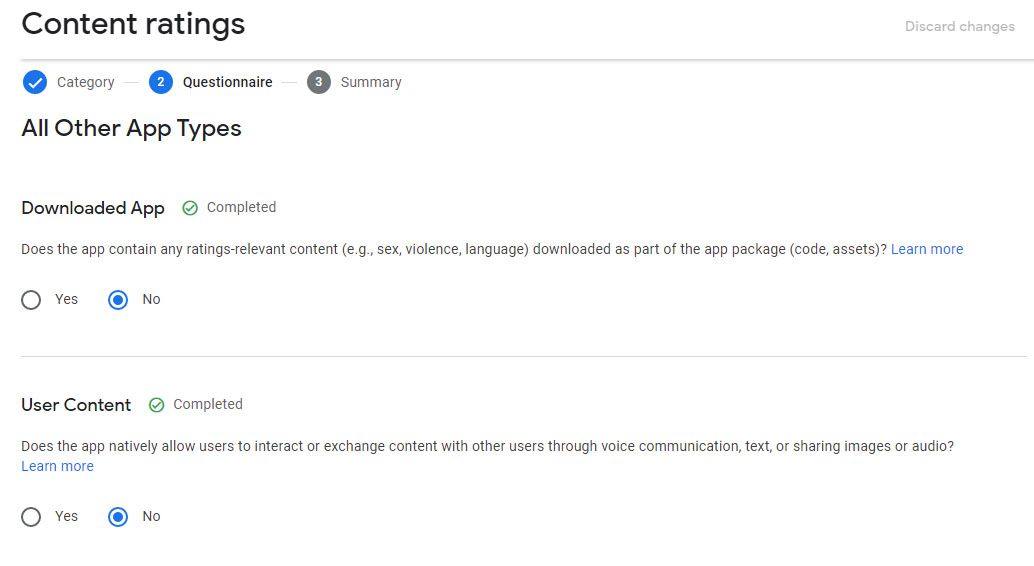
Select.
First is the Category option in the Content Rating menu.

| Option | Description |
|---|---|
| Email Address | Enter the email address that can be used to contact you. |
| Category | Select the category of your app. |
Click Next and you will be asked a few questions about your app. Answer them to let Google Play Store know more about your Android app.
Then it will show the Summary of the ratings and you can hit Submit to apply the changes. After that, you can go back to the control panel. Continue by selecting the Target Audience option.
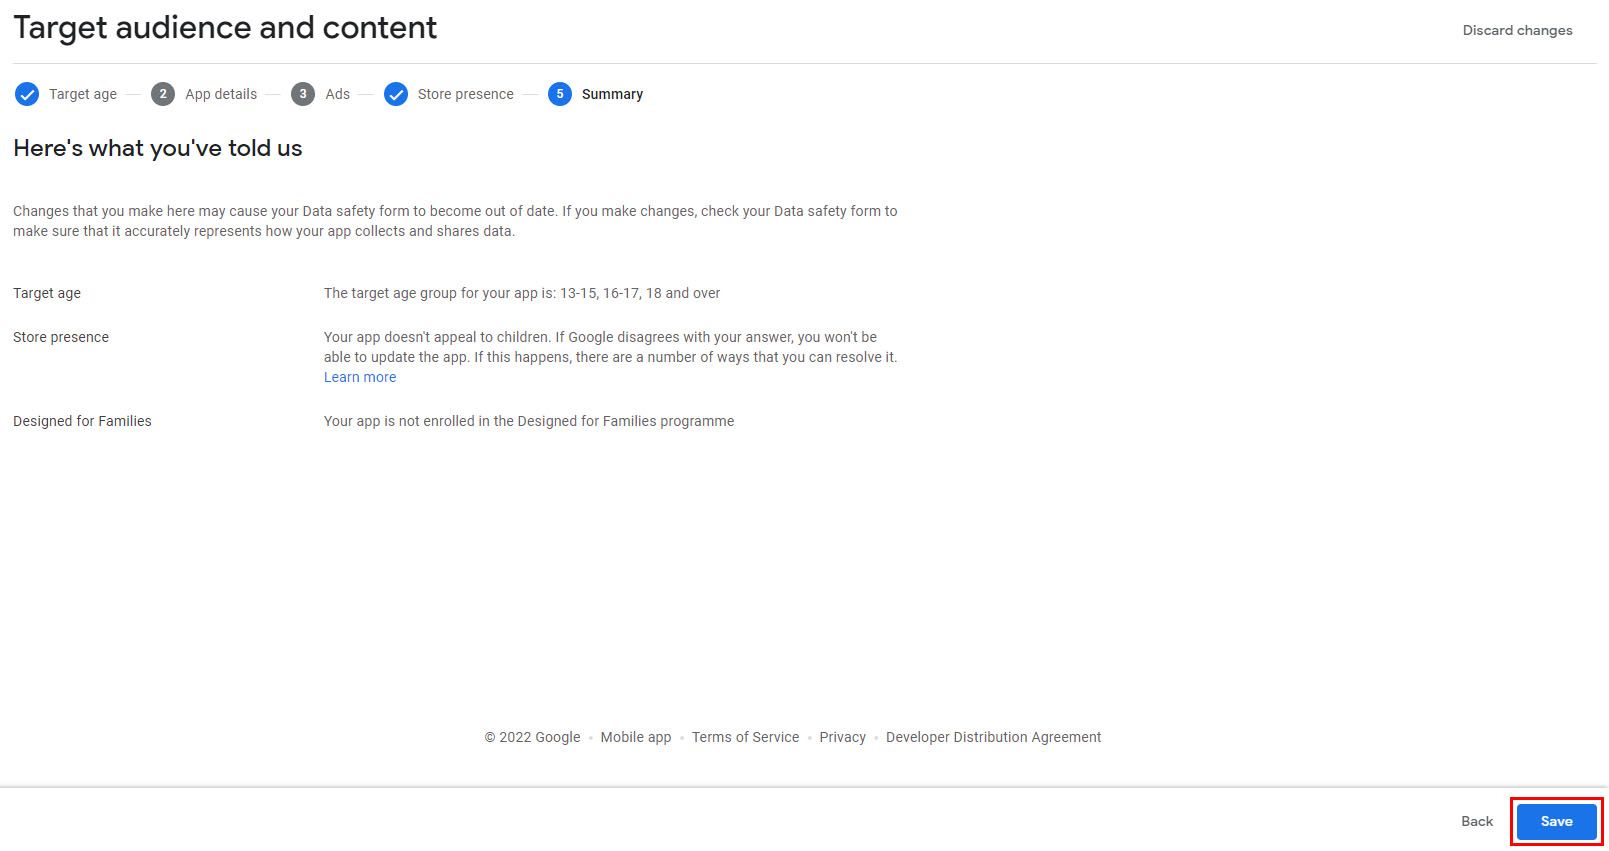
5. Target Audience
From this section, you should
. After choosing your target audience, click the Next button.
When you complete all the steps, this screen will appear. If you think that there is no mistake in the explanations you made about your application, click the Save button. If you think there is a mistake, you can edit it with the Back button.
Then go back to the Control panel and click the News Apps button.
6. News Apps
Select No and click Save.
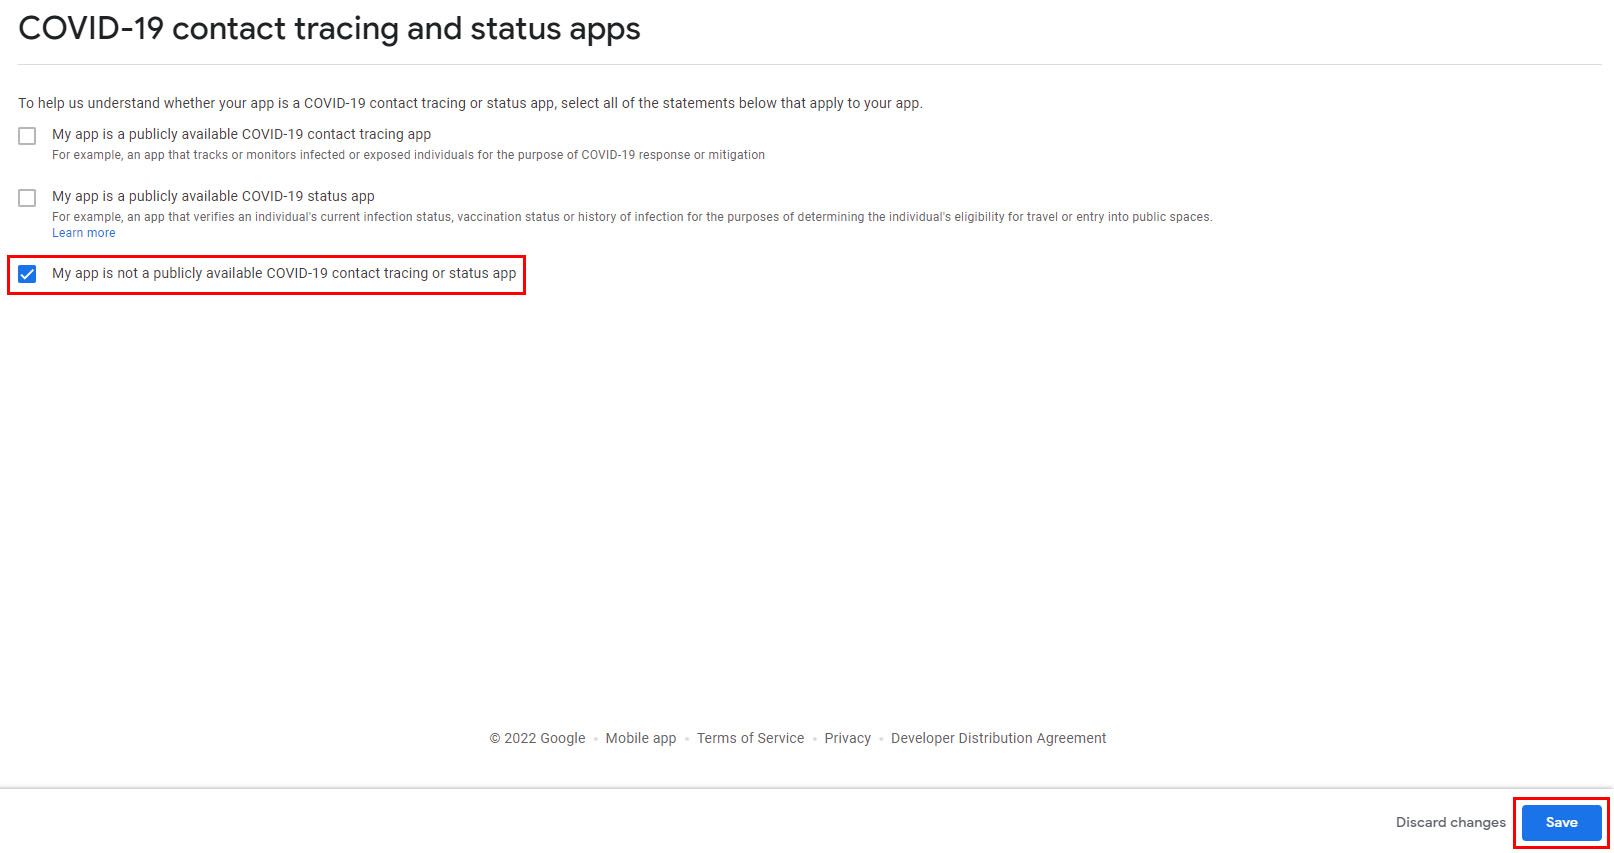
After going back to your dashboard, click on COVID-19 contact tracing and status apps.
7. COVID-19 Contact Tracing & Status Apps
After selecting this option for your application, click the Save button.
Then go back to the dashboard and click on Data Safety.
8. Data Safety
This section has 05 parts to present you with details. That is Overview, Data Collection & Security, Data Types, Data Usage & Handling, and Preview.
Enter the correct data for all these sections and finally click on the Submit button to submit your details.
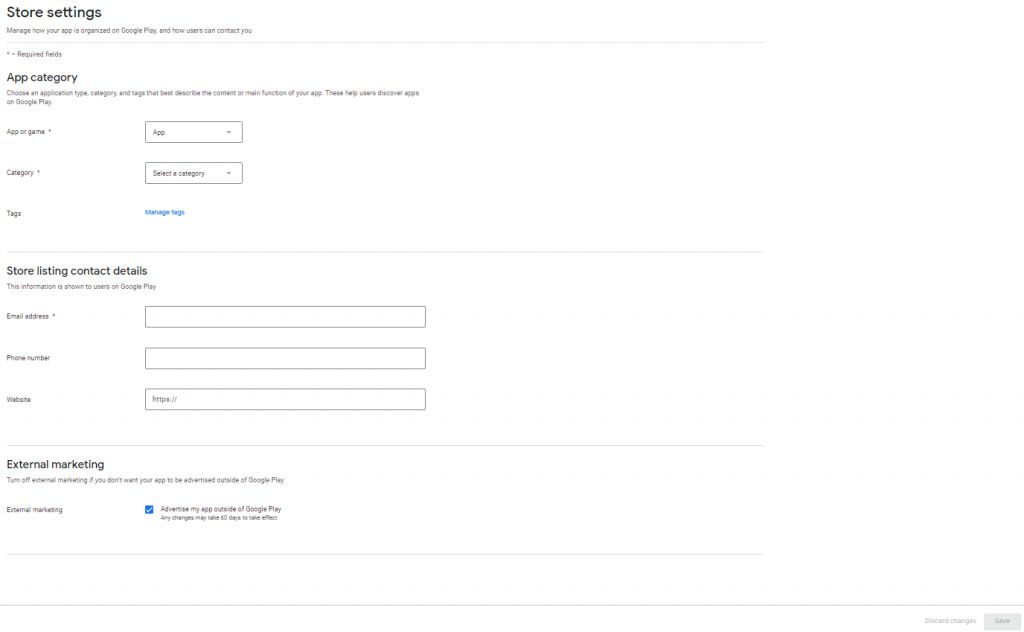
Then go back to the Control panel and click on Select an app category and provide contact details.
9. Select An App Category & Provide Contact Details
You will see another screen where you have to enter your app’s information. You have to fill in the information and click the Save button. Fields with an asterisk next to them are mandatory fields.
After saving, go back to the Control panel and click the Set up your store listing button.
10. Set up Your Store Listing
I. Application Details
This is the part where you enter the information of your application that will appear in the store. Filling out the sections completely is of great importance in terms of attracting attention reaching more people and accepting it for publication.

| Option | Description |
|---|---|
| App Name | The name of the application must be entered. |
| Short Description | It is the first description that users will see when the application is viewed on the market. Here, the purpose or the most striking feature of the application is briefly stated. |
| Full Description | This is the area that users can reach if they want to learn more about the application, so you can explain the application in more detail. |
II. Graphics
Try to fill in all the images in these parts. The more screenshots you upload, the clearer your app will be for users. So you choose the various screens that reflect the application.
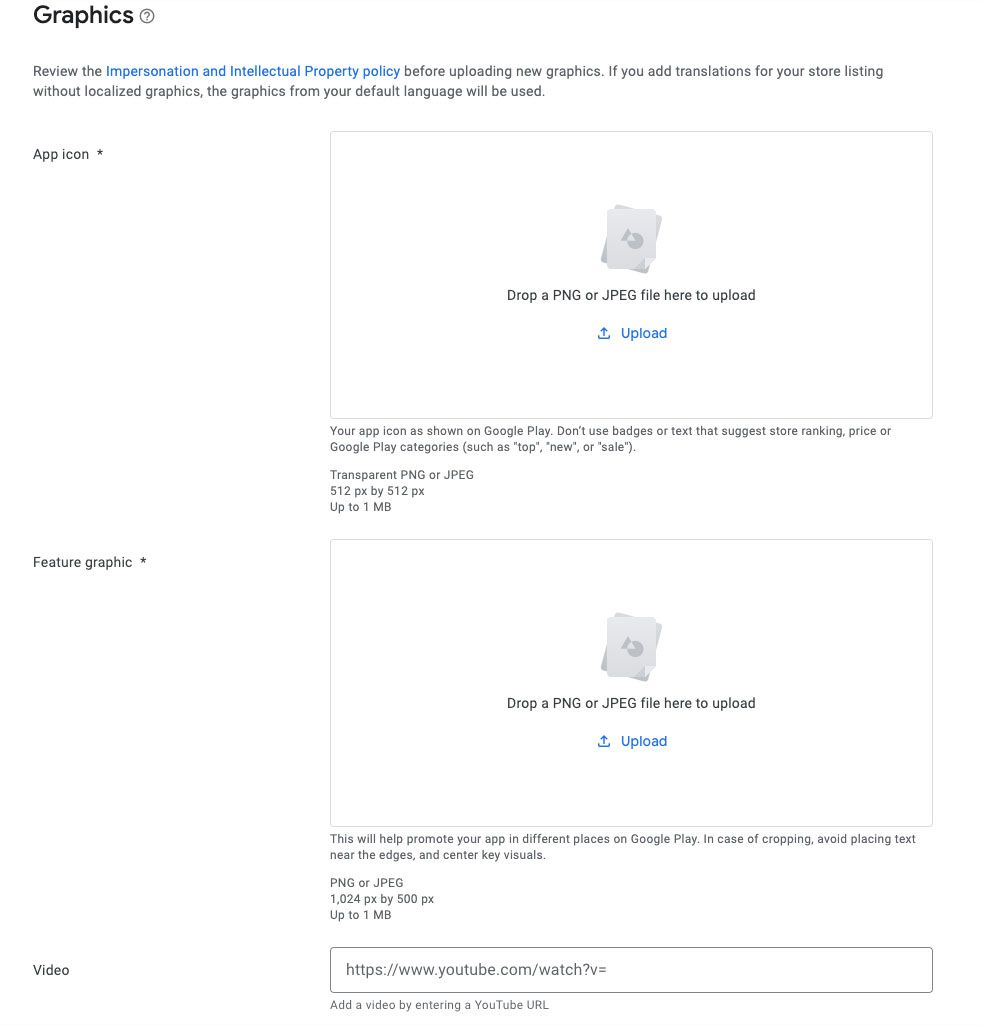
| Option | Description |
|---|---|
| App Icon | Upload an image that will be visible as the icon of your app. Make sure the image adheres to the size limit. |
| Feature Graphic | Add an image for your app that can be used for promotional purposes. |
| Video | Insert a YouTube link for the video of your app. It also holds some terms and conditions, so ensure you publish your video accordingly on YouTube. |
| Phone Screenshots | You can add a minimum of 2 and a maximum of 8 screenshots for mobile phone displays following the size limit and aspect ratio. |
| 7-inch Tablet Screenshots | Upload up to 8 screenshots for a 7-inch table-sized screen. Do not forget to follow the size limit and aspect ratio. |
| 10-inch Tablet Screenshots | Upload up to 8 screenshots for a 10-inch table-sized screen. Do not forget to follow the size limit and aspect ratio. |
After uploading your graphics, click the Save button.
Step 6: Setup App Integrity
After completing the steps on your control panel, click the Setup button on the left menu. In the sub-menu that opens, click the App integrity button. Click on Create Release on the page that appears.
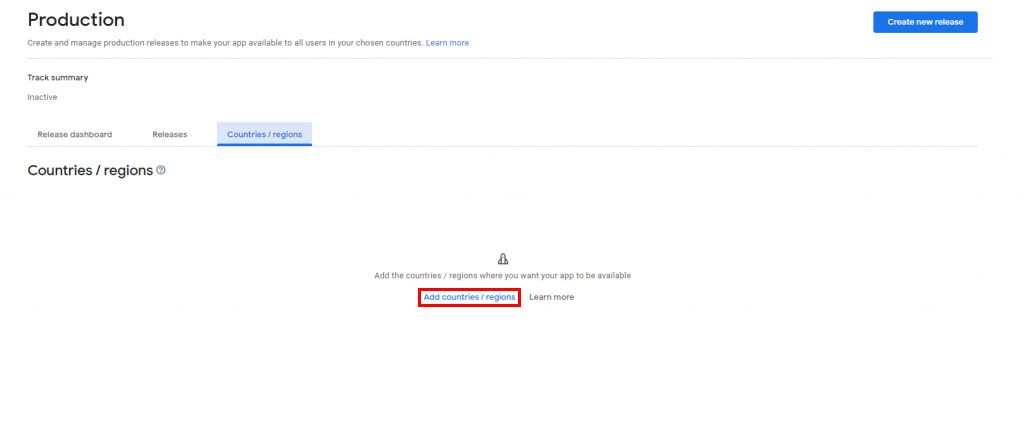
Then, Click on the Countries/Regions section on the page that opens and click on the Add Countries/regions text below.
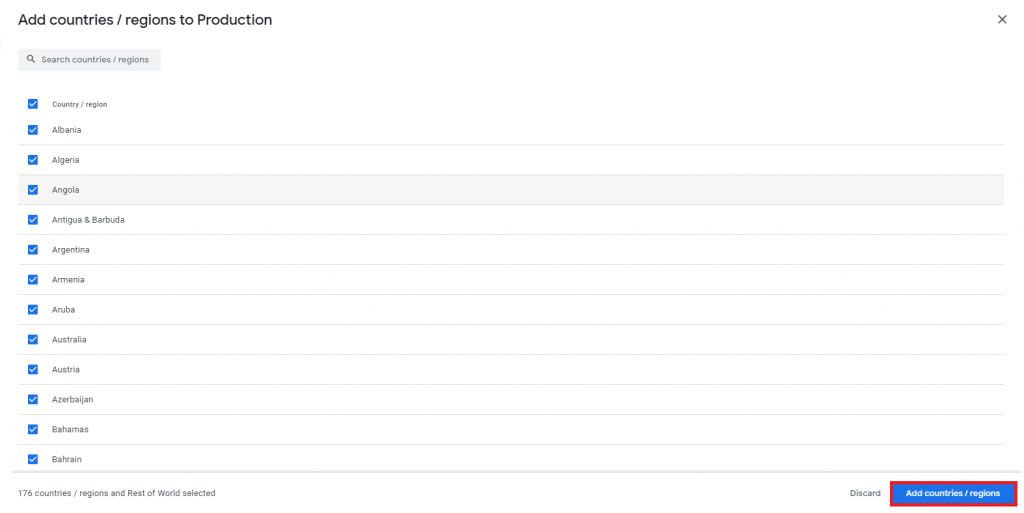
You can choose which countries your application can be used in from the Country and Region list that appears on the screen. After completing the selection process, click the Add countries/regions button on the lower right.
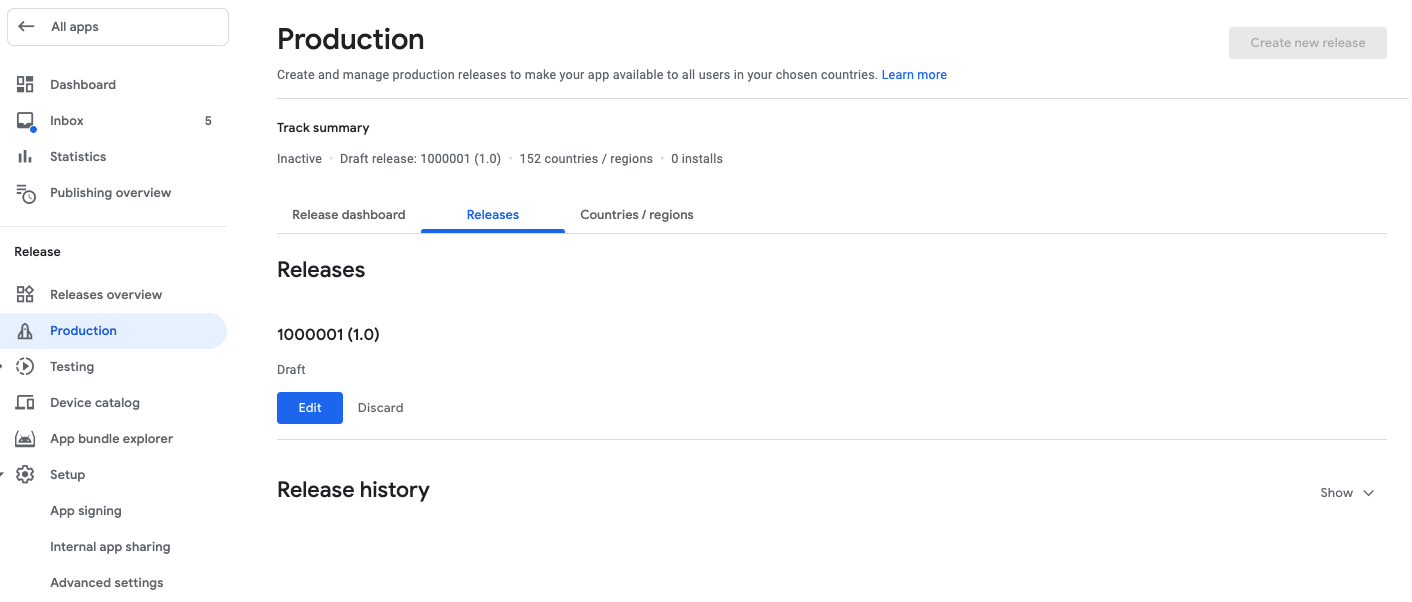
Step 7: Setup App Production
Return to the Production tab, in Releases click on Edit.
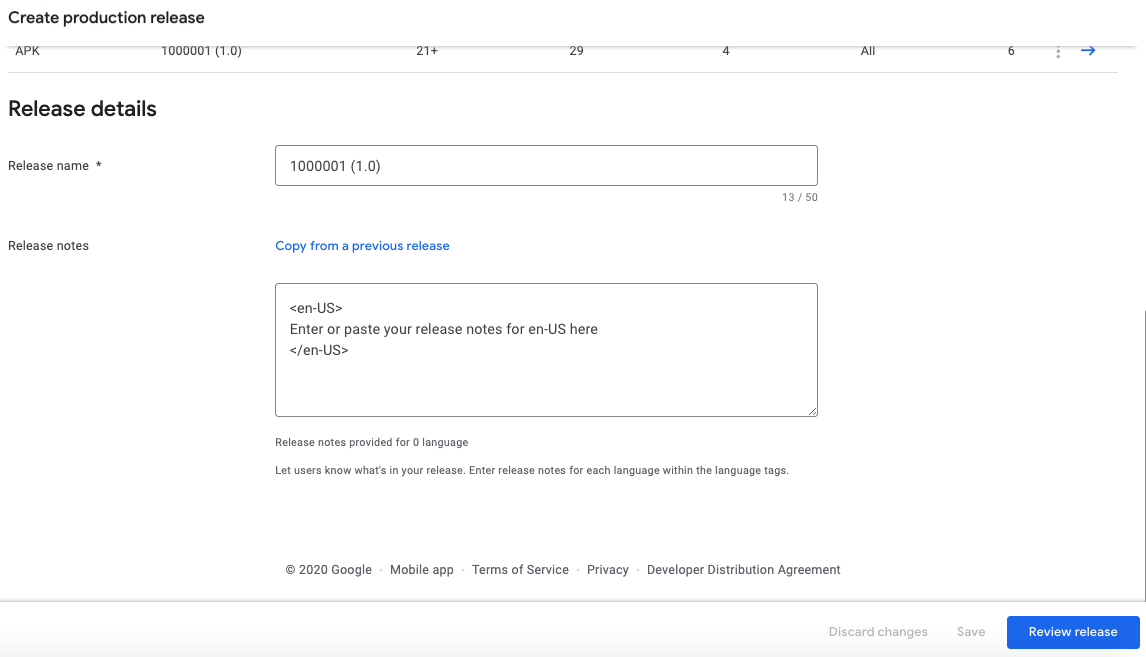
Then click on Review release.
When you are done with all the details, you can check for errors and correct them. Then you can finally go for the Start roll-out release for your Android app.
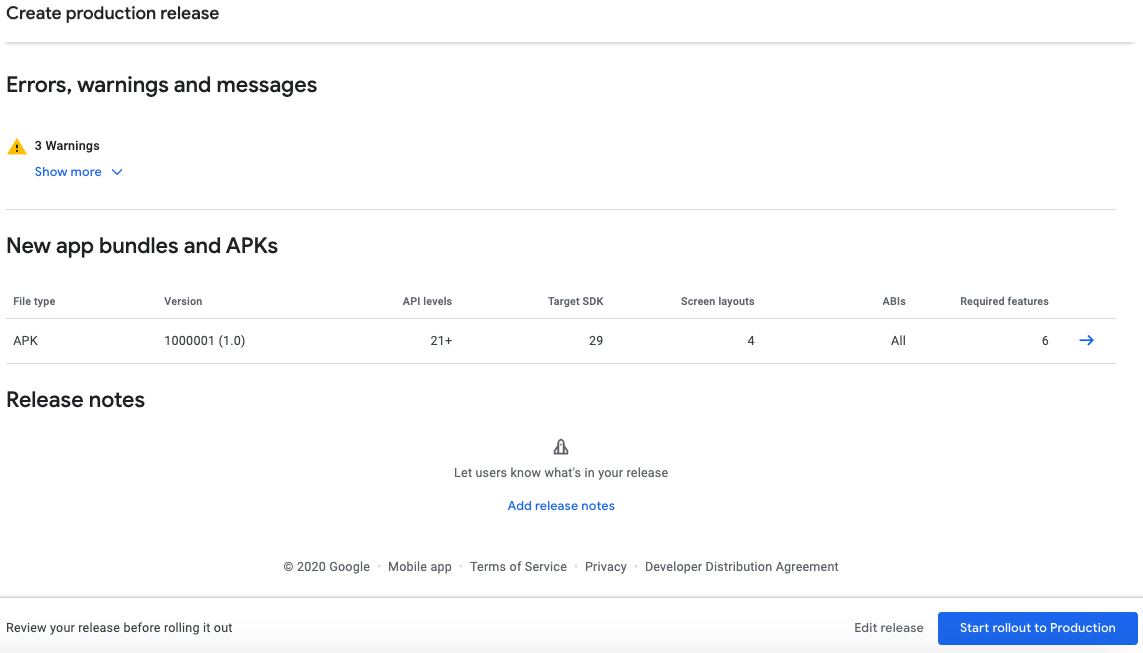
This is just a warning message, it does not prevent you from publishing your app on the Google Play Store.
Click on Start rollout to Production.
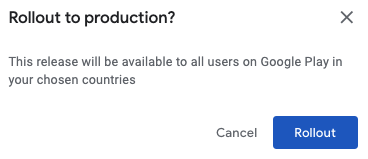
And to finish click on Rollout.
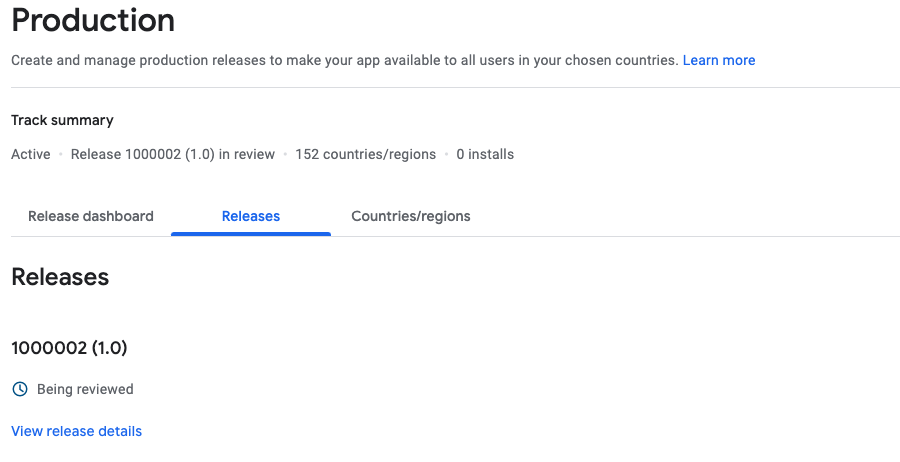
Congratulations! Your app is released for review in the Google Play Store. Now all you have to do is wait for Google Play’s approval.
It will take up to 7 days to get it approved. After the necessary reviews are made by the Google Play Store, the result of the evaluation is sent to you via e-mail.
Once approved, it will be available publicly for download on Google Play Store.