How to send scheduled push notifications ?
Requirements
- A Firebase account, if you do not already have one.
- Setup Firebase Push Notifications Setup to enable this feature.
To use the Scheduled Push Notification, you must have previously setup Push Notifications in Firebase. How to do it correctly is mentioned in the article on Firebase Push Notification Setup. First, follow the article and setup the Firebase.
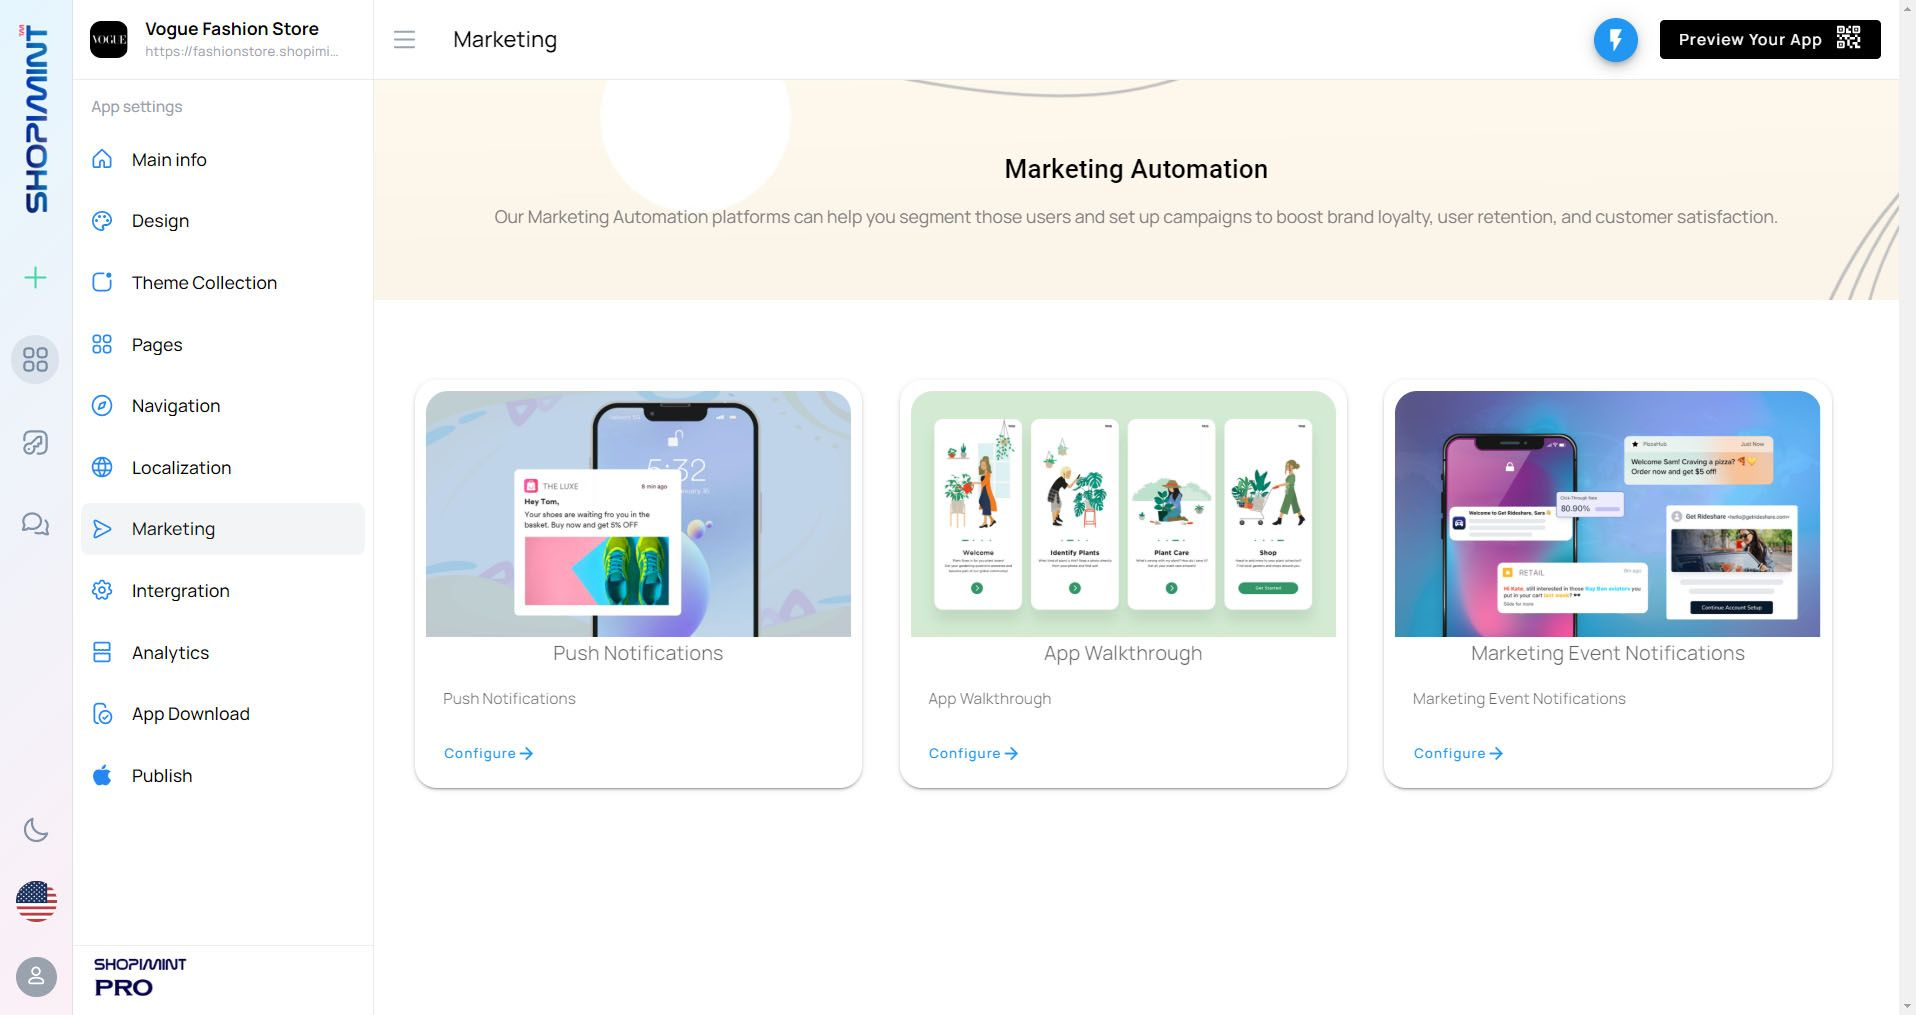
Send Scheduled Push Notifications
Navigate to Marketing ➝ Push Notifications ➝ Scheduled Push Notifications
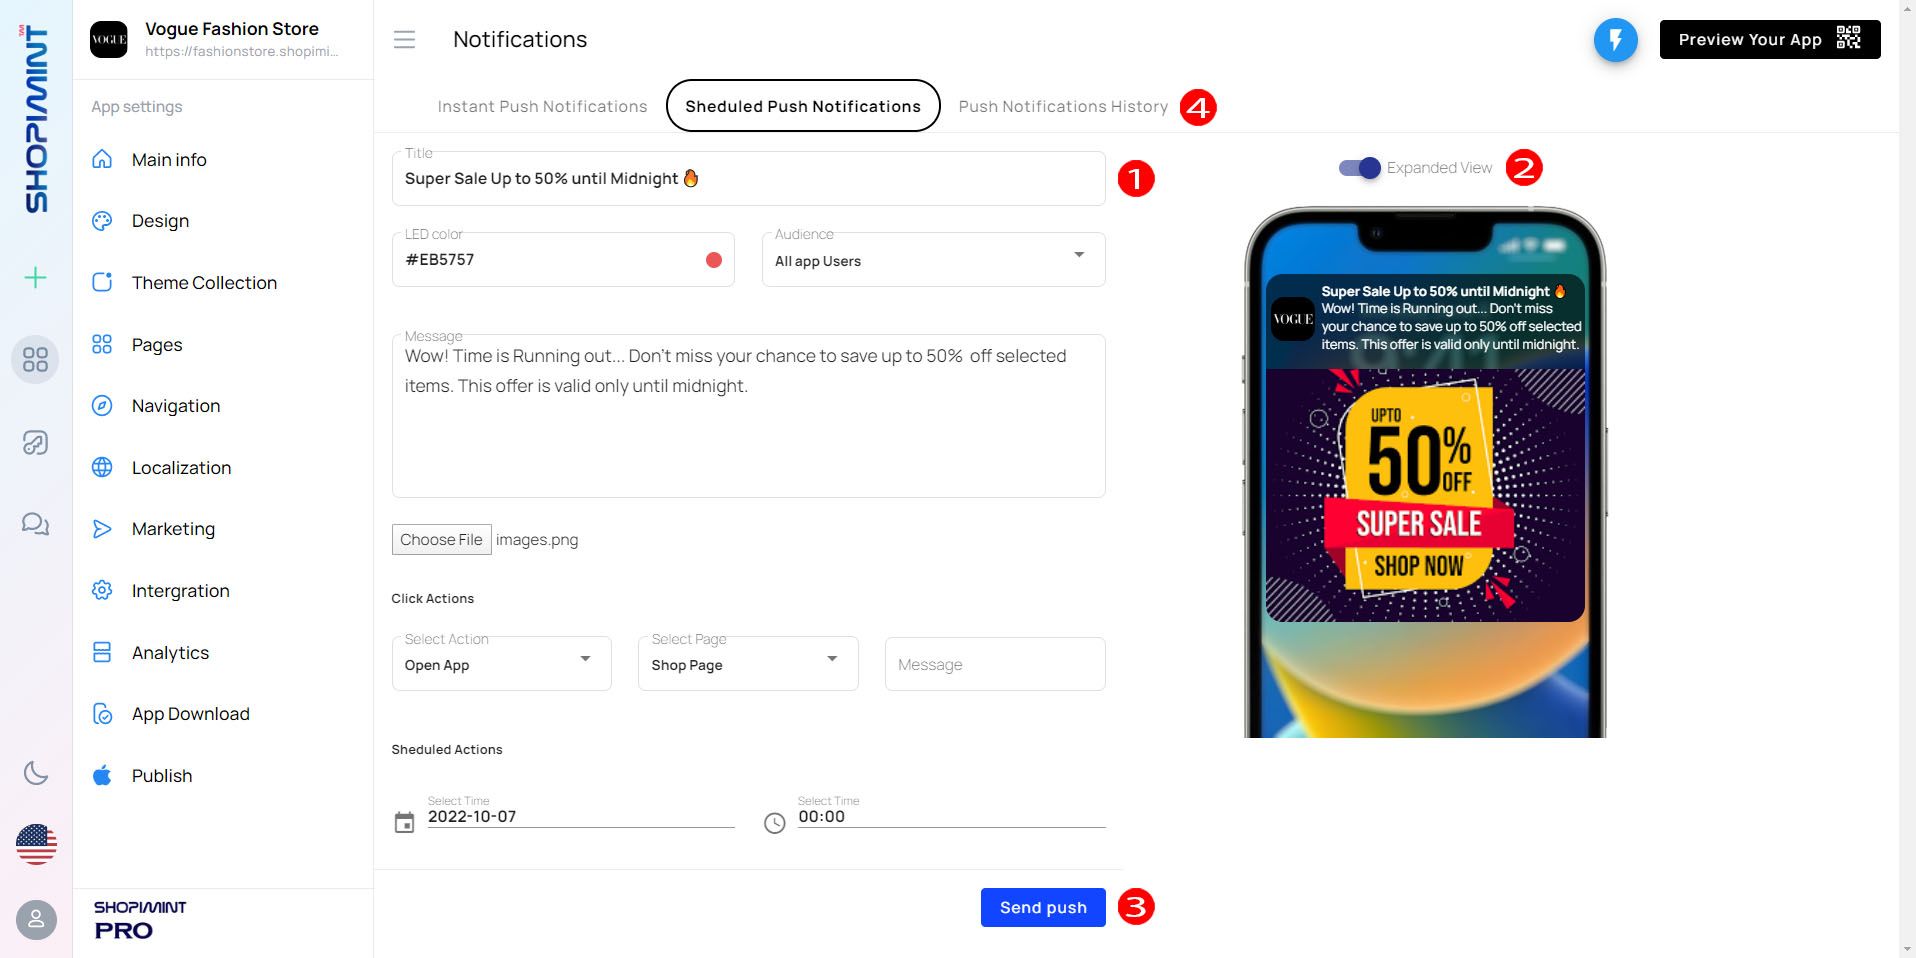
01. Message
| Option | Description |
|---|---|
| Title | Add a Title for the notification |
| LED Color | Notification LED Color (Notification badge color on Android) |
| Audience | Select from here to which group your message should go |
| Message | Add Notification body. Maximum 200 letters. Also, you can use emoji 😍 on here for nice notifications |
| Image | This will populate the large image for all applicable platforms. The recommended image is a jpg file type with a 2:1 aspect ratio landscape, size 512x256px or 1440x720px . Scheduled Push Notifications ➝ Choose File |
| Launch URL | The URL; a user will be directed to when clicking the push notification. You can select which page you need to open once the notification is clicked by Click Actions ➝ Select Page |
| Scheduled Actions | This allows you to schedule notifications to users at any desired date and time. It can be done by following these few steps. Scheduled Actions ➝ Select Date ➝ Select Time |
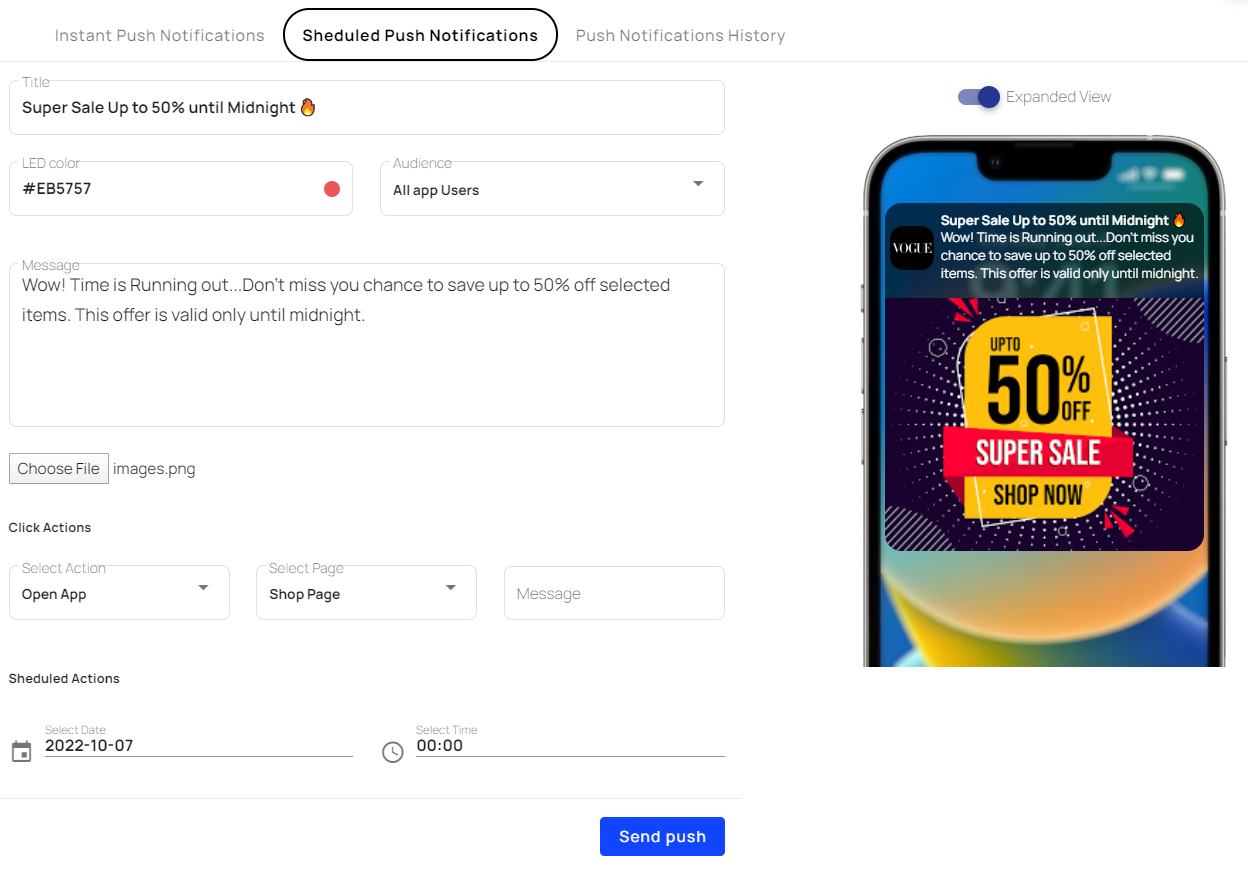
02. Preview Notification
You can toggle notification view from Marketing ➝ Push Notifications ➝ Scheduled Push Notifications ➝ Notification View
03. Send Notification
Now you have finalized the notification setup as step 01 and you can see the preview as setup 02. Confirm and press on Send Push button. Once you push on it, it will be sent to the users on the date and time specified by you.
If you need instant notification please refer to this article: Instant Push Notifications
04. Notification History & Delivery Report
You can view your all notification history from Marketing ➝ Push Notifications ➝ Push Notifications History